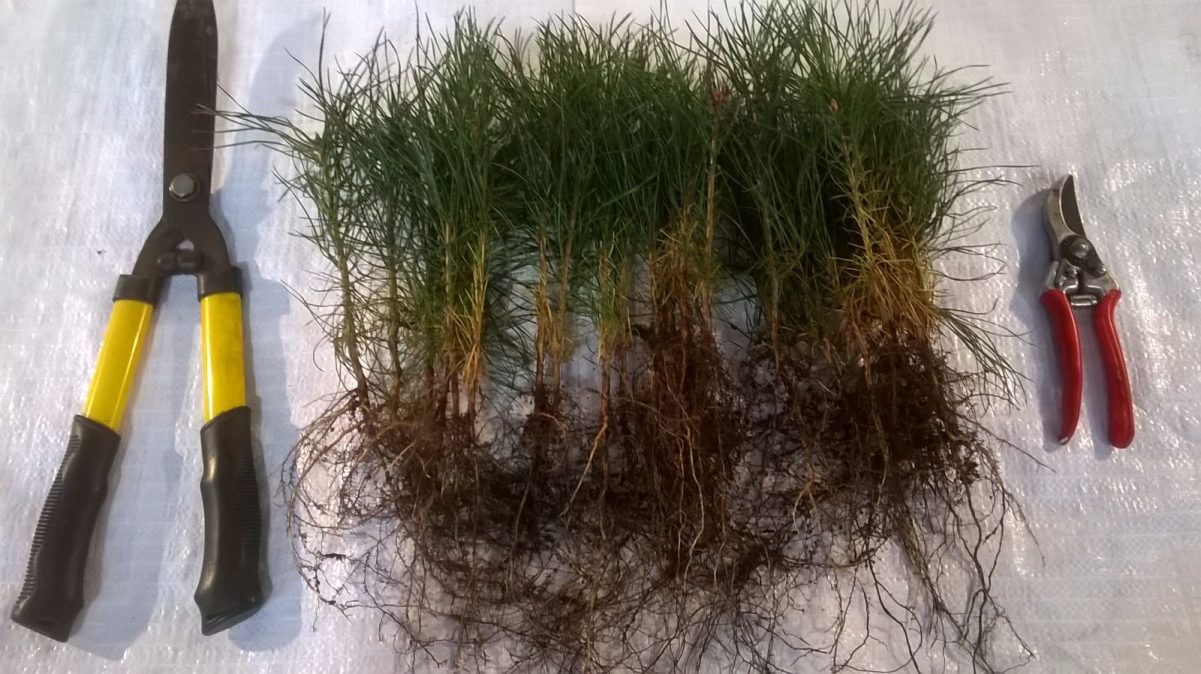
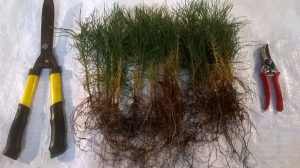
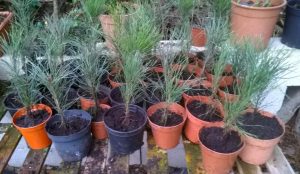
In early 2017 I decided to purchase a batch of 20 Scots Pine two-year-old saplings from eBay. They arrived bare-rooted and at the time I had no true understanding of the necessity of mycorrhizal fungi. I potted them up in a standard garden centre mix and left them to ‘thrive’. The short story is that they didn’t! Of the original twenty, only three managed to establish a healthy roots system by 2019.
When I examined the ‘deaduns’ it was clear that no beneficial fungus had developed whereas in the three healthy plants there were obvious signs of the white ‘powdery like’ mycorrhizal fungi in the soil. I did a lot more research and am now looking to purchase some for my next set of bare-rooted saplings.
This is a classic example of ‘on the job’ learning. Looking back I wish I had understood the requirements for succesful potting of a bare rooted pine. Perhaps then, I would now be dealing with twenty thriving potensai subjects 🙂
What I also learnt was how difficult it was to identify that the young saplings were struggling for those years. Yet, if I had considered their progress, I would have identified that the majority were not producing new healthy candles – as they should AND this would have told me their was probably a root issue.
So hopefully, if you are new to pines, you will take this crucial bit of knowledge and use it wisely. Key point for pines – do not bare root them. You want to keep a good amount of that beneficial fungus from the old soil to keep the exchange of nutrients process going.
Early summer pruning:
Around this period of summer it is a good time to start looking at your Scots Pines. This is when we can clearly see all of the new growth and make decisions on what to keep and what to lose. As with all pruning we must ask ourselves what stage the tree is at and what we wish to achieve. This is explained in greater detail in the first series of ‘pruning’ posts started June 2021.
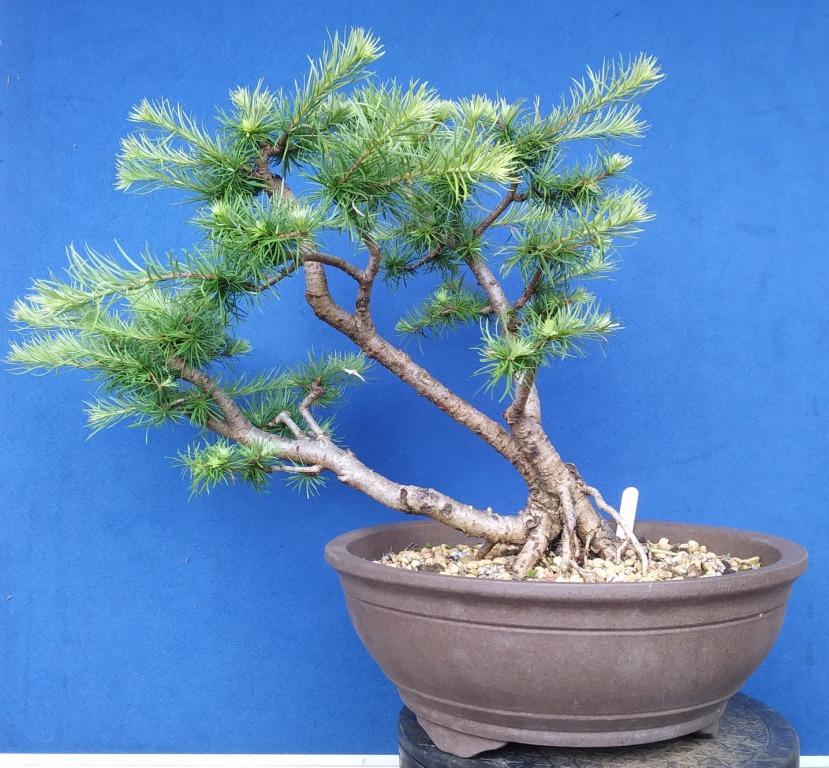
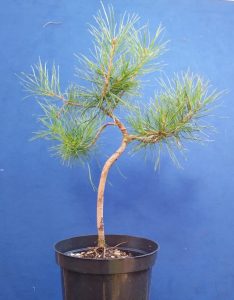
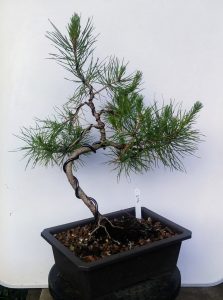
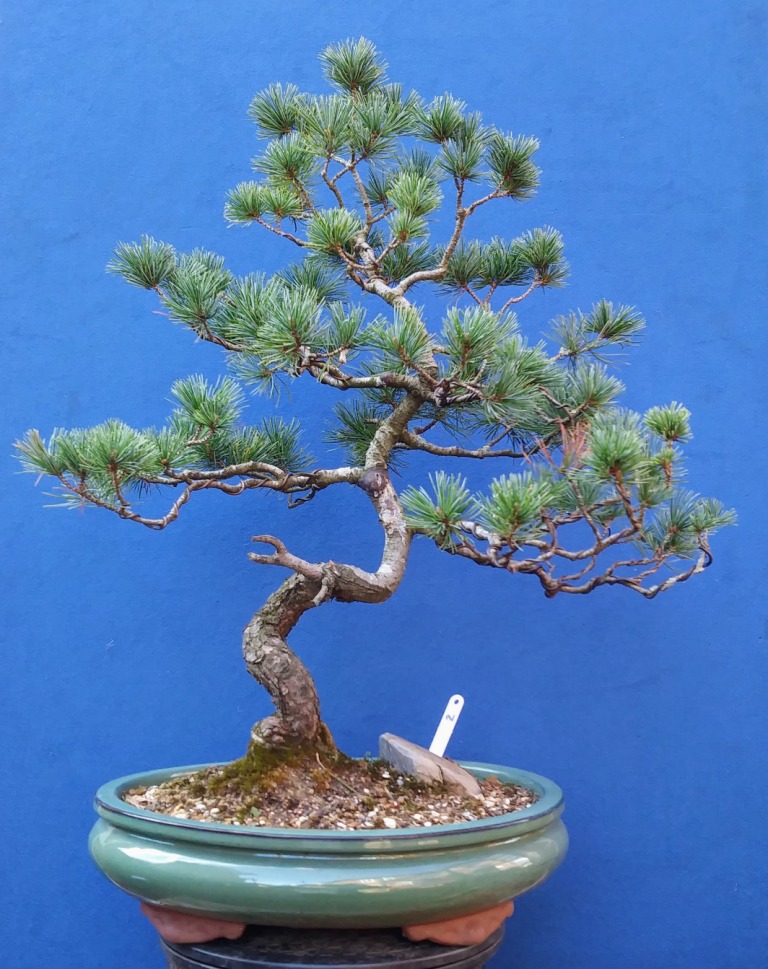
In this case, I have three four-year-old potensai that have had wire applied to them in 2020 and are now ready for further styling and development. I will only be using one of the three for this post and I apologise now if some of the information is a little repeitive.
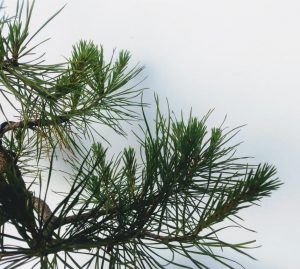
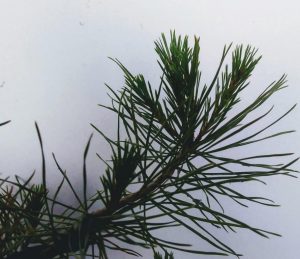
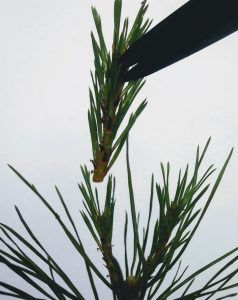
In this image I have tried to capture several of the branches each showing numerous new healthy shoots. Our first task is to reduce any groups of shoots to just ‘two’. This ensures we reduce the risk of unwanted swelling and also allows us to establish directionality to our design.
If their are any yellowing needles then these can be removed
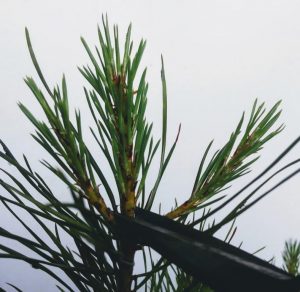
You are able to see that near the tip there are three shoots growing from one junction – one of these must be removed.
As an observation, I also notice that lower down the branch there are smaller single shoots growing. This is great news because it means I may eventually be able to cut back to this growth in the future.
There are no hard and fast rules about which candle you should remove in this trio. However it does help to have a design idea already in mind. This way you can easily identify which of the shoots is growing in the wrong direction.
Generally it is best practice to maintain acute angles (less than 90 degrees)
I always cut right back to the junction to leave a flush transition to the remaining shoots. In my experience it has not been necessary to seal these size wounds with cut paste.
This operation should be repeated across the entirity of the tree – even on branches you wish to grow out. (We must always be careful of junctions swelling)
We then shorten candles as shown in the image. This should encourage back budding from the site of the cut and also further down the branch. Hence we aim to achieve 2 new shoots at each cut site and thereby establish ramification for next years growth.
These pines are classified as ‘single flush’ which means what we do now sets up the growth for next spring.
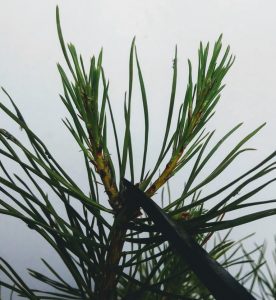
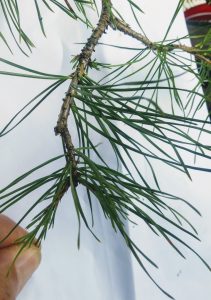
This is the branch after pruning is completed. I have two growing tips at the end which will produce further buds for next year.
I also have two weaker juvenile buds pushing out further back down the branch. These are key for my design and I am hoping that next year I can chose to either cut completely back to these OR remove the one on the inside and leave the outside one to develop the pad.
I do also wire my pines at this time and will generally leave this in position for up to 9 months. I have set a reminder on my phone for 6 months to check for wire bite. It is important to already know where and in which direction you are going to be wiring your branches before pruning.
I have included one of my latest Scots Pines Collaboration videos. This was a very difficult young tree that had been growing in my nursery bed for several years. A fellow YouTuber (Kennet de Bonde) suggested a completely radical over haul…
It is really worth taking the time to look back over some of his earlier videos – he is extremely clear in his explanations and visually makes it much easier to know what ‘you’ should be doing next.
It is also fun to see the various ways his hair is styled 🙂
Be ready for my shop page to appear soon(ish) – it will still be centred on ‘collections only’ but I am now able to take card payments.
Keep smiling…

