Today I am going to discuss how I prune Japanese Larch and Satsuki Azalea. As with the Dawn Redwood, timing of pruning is an essential aspect of successful development. The golden rule I try to follow with all of my pruning is:
“If you miss the timing then it is better just to wait a year than risk unwanted consequences. The worse that can happen is the bonsai gets bigger and healthier.”
The Japanese Larch is an extremely vigorous tree and with the right conditions can produce up to three usable ‘new flushes’ of growth. This means that if you monitor your bonsai correctly you could get three chances to create additional new branch structure. That is why Larch are so popular and can so quickly take on the characteristics of an older tree.
With the Satsuki the key issue is to understand that pruning too late into the season will greatly increase the risk of removing the new growth that produces the flowering buds for the next year. Hence most pruning work is done post flowering and certainly before the end of June. If I am planning on major branch reductions or foliage reduction then it is carried out in the Spring with the knowledge that I am going to severely compromise the flowering opportunities.
Japanese larch
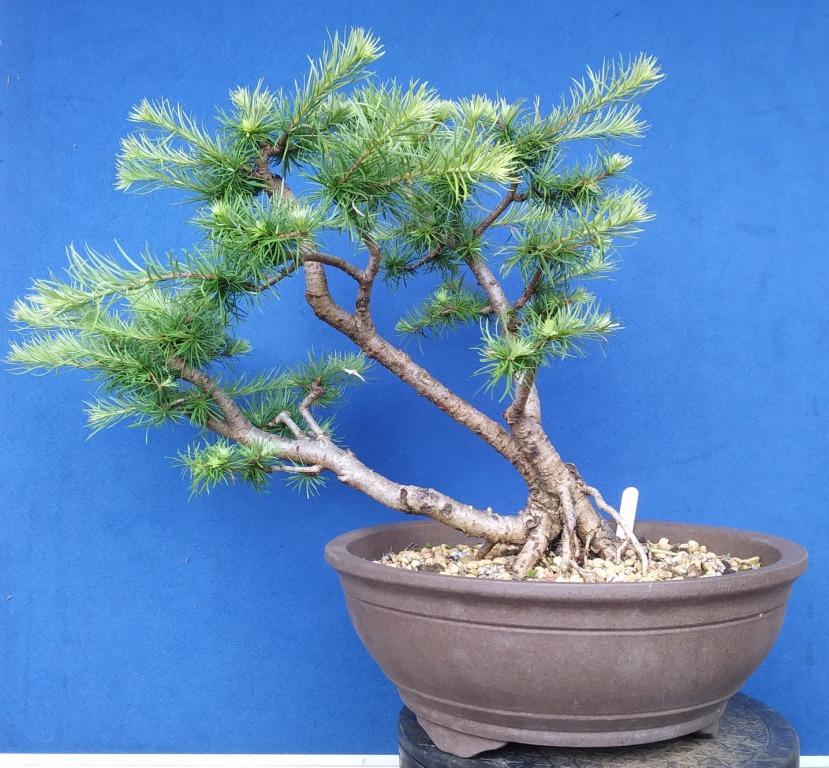
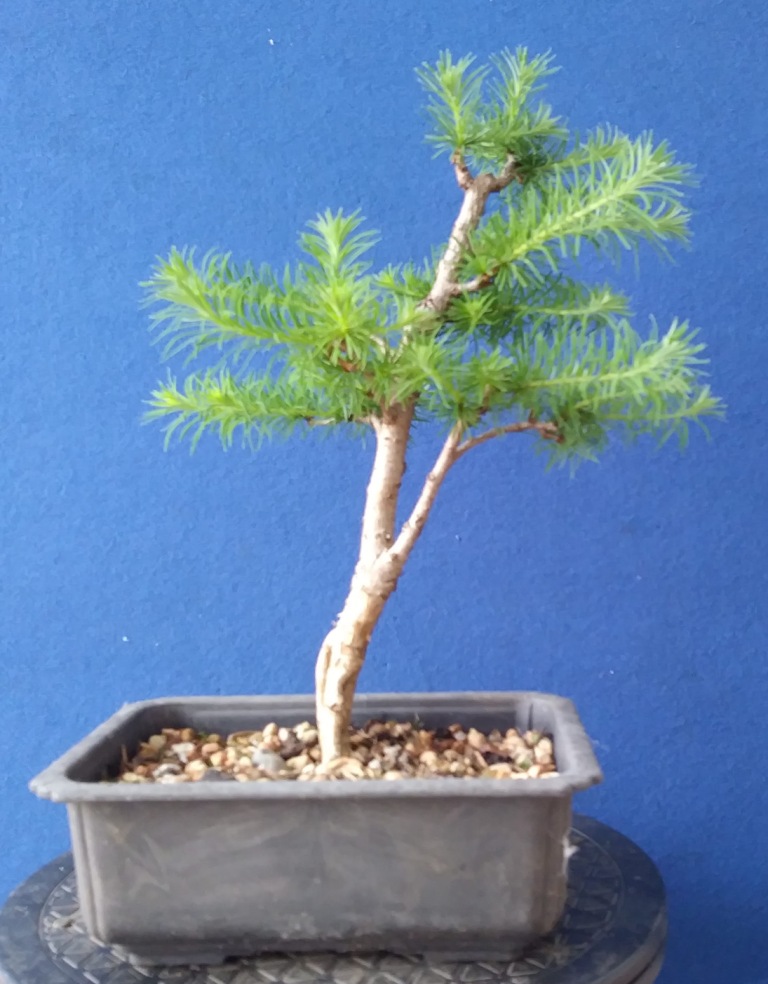
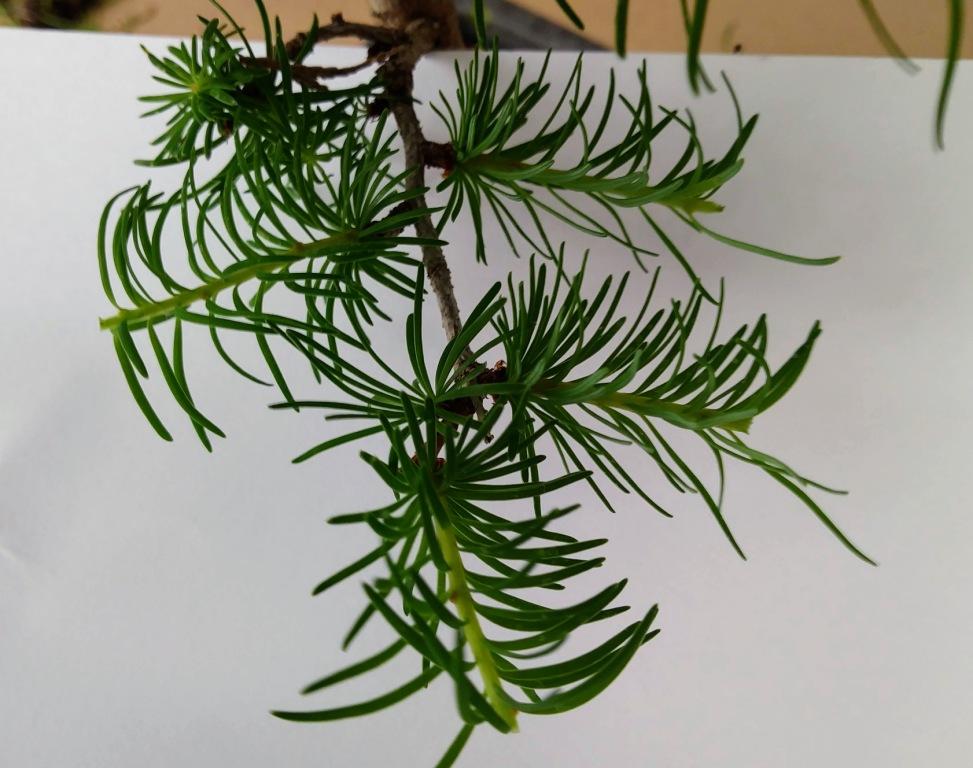
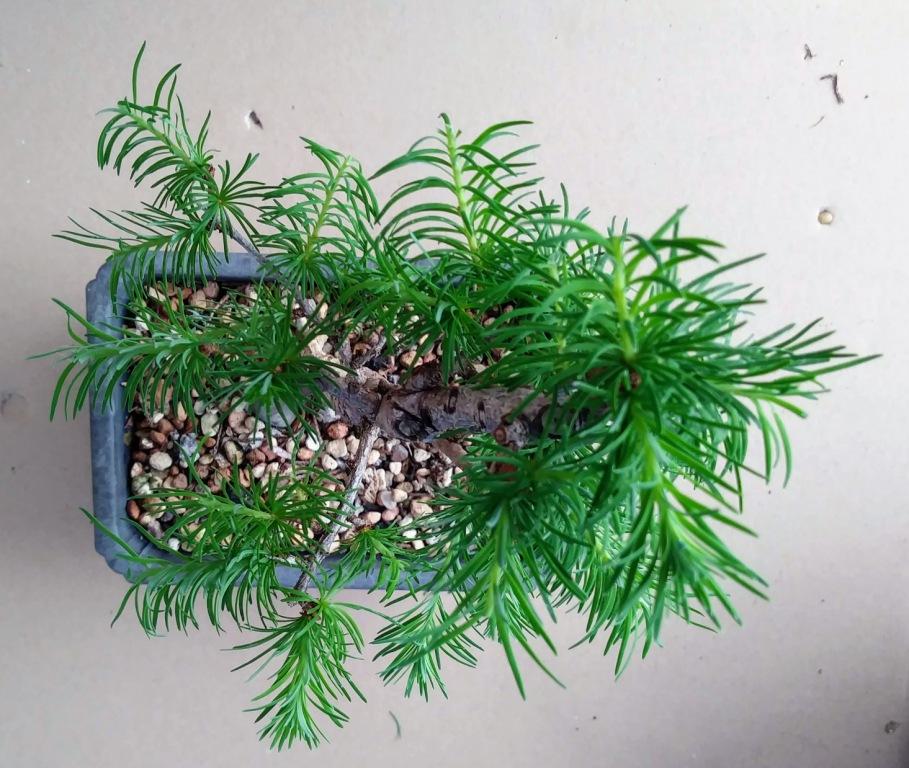
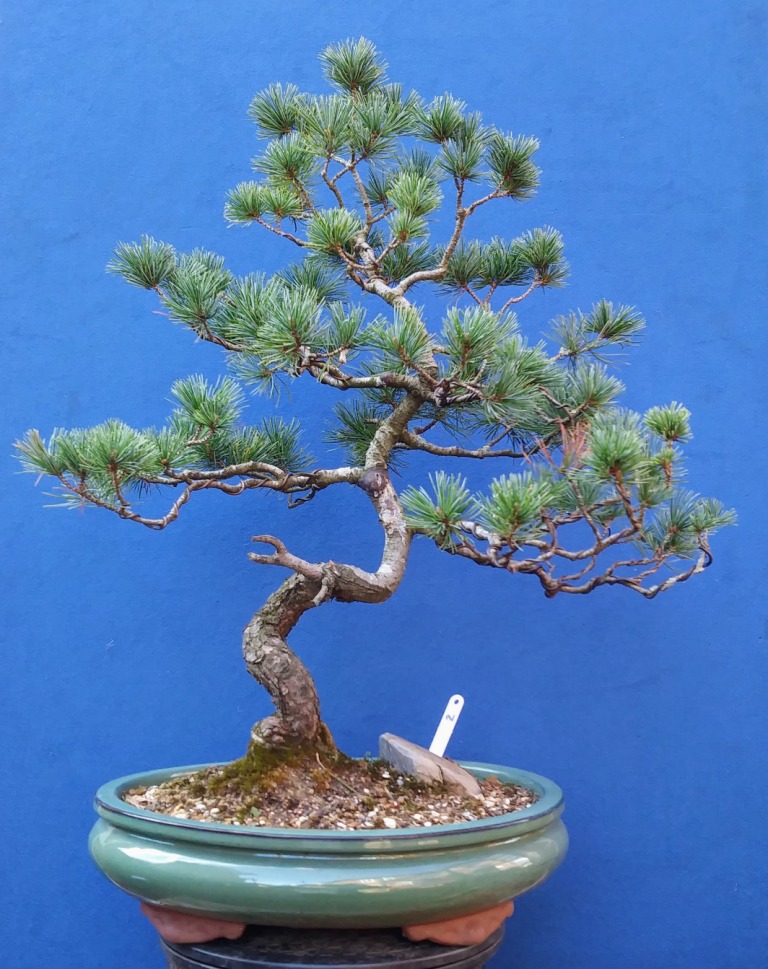
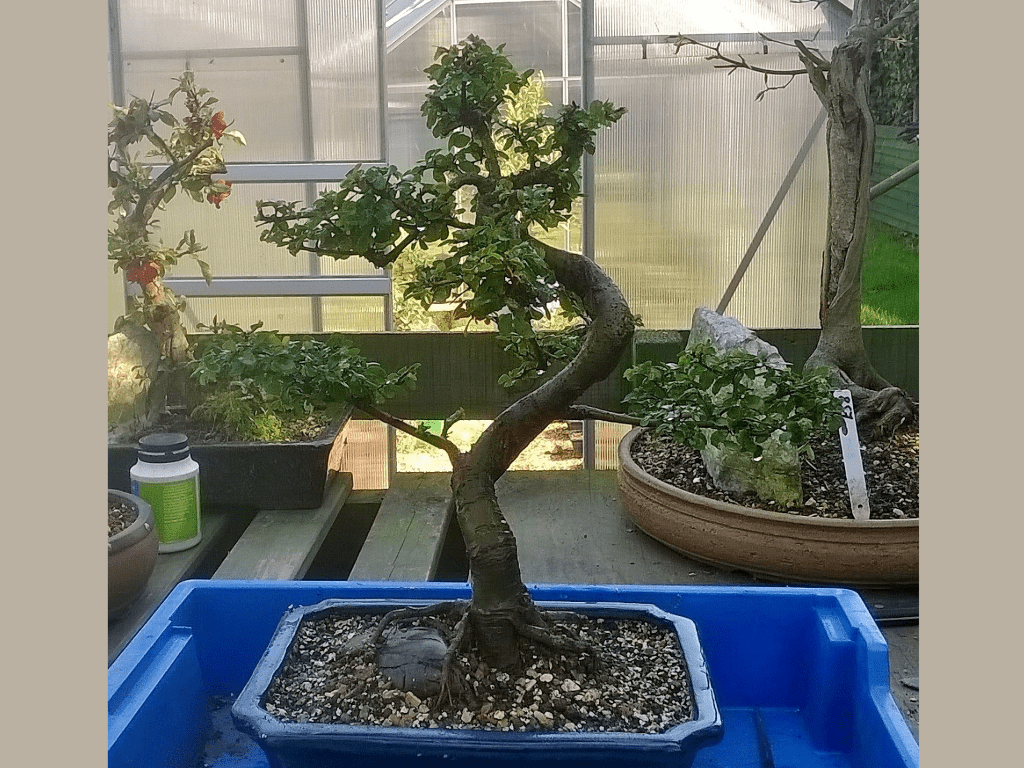
This starter tree was purchased as a 2 year old sapling in 2015. It has been left to grow with minimal interference and was potted up this year for training. The root structure is a little odd but I like how the trunk splits – certainly it is worth spending more time on it 🙂
I have decided that I want this tree to be a ‘Mame’ which means I am not interested in branch thickening as a priority. Instead I am seeking every chance to increase the amount of ‘twigginess’. This means all shoots will be cut back to usable bud pairs – hopefully three times this year.
This will still allow branch thickening but not as much as if you left it alone for the year.
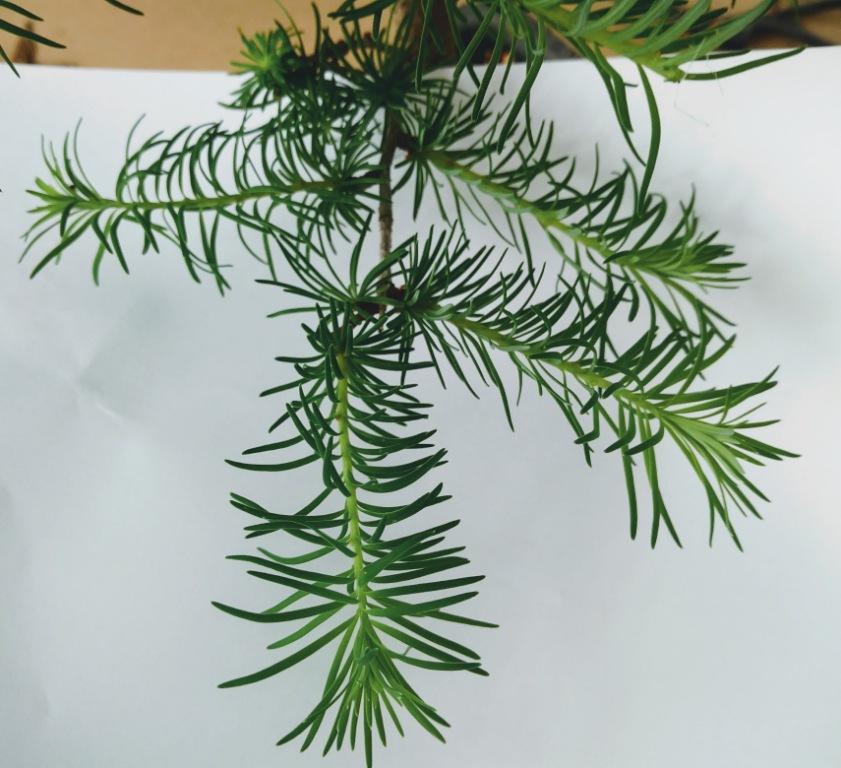
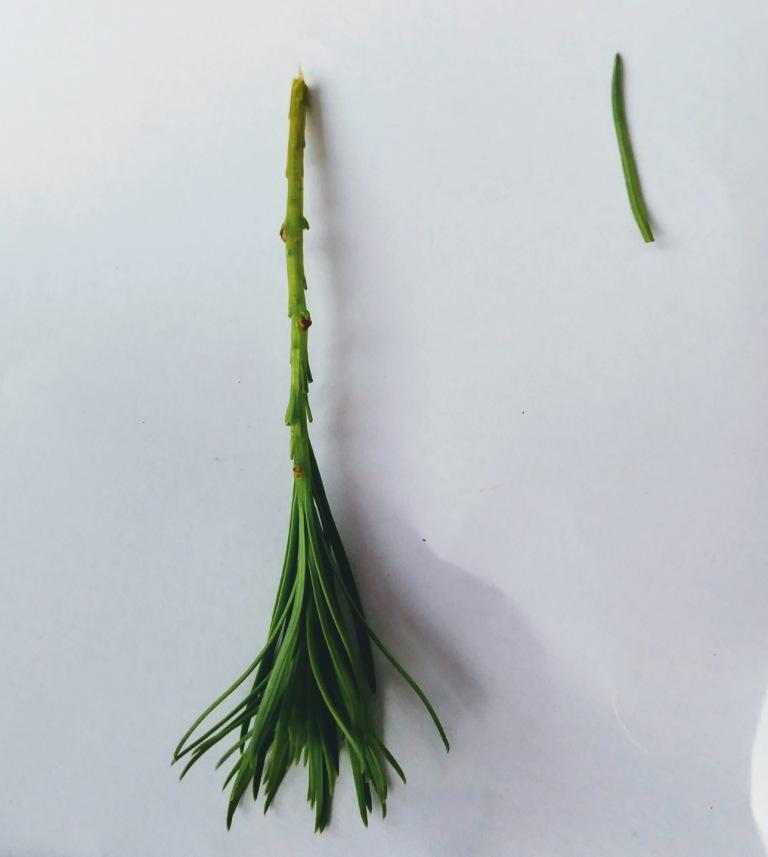
Each new shoot produces brownish buds along the length. The location of these buds is haphazard and often not where you need them and it is this which dictates your pruning decision.
Using this case I would hope for up to 4 new shoots to push out from the buds. At worst, I should get two new shoots either side and staggered. This achieves my aim of getting ‘2’ from ‘1’ (shoots).
Often, the first pair of buds are so far apart that they are not preferable for usable ramification. What we wish to achieve is lots of well spaced alternate branching.
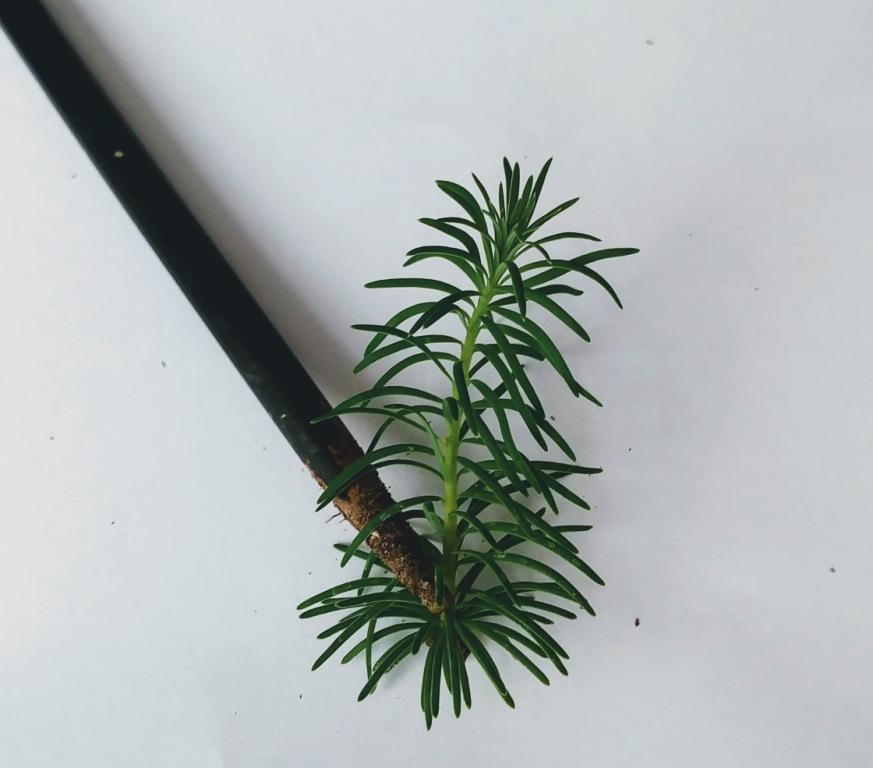
In cases where the buds are unusable I prune right above the first whorl of needles – the base of the new growth. This will encourage 2 dormant buds to hopefully activate.
Looking from above you should be able to see a pyramid like structure with the longest growth at the base. Clearly, each tree will have different characteristics based on your own approach – but consider this as a basis to start.
Some growth may be kept longer to allow for directional wiring in the Spring. Just because it isn’t pointing in the right place yet – doesn’t mean you should erase it 🙁
If the growth is too small to see the buds then just leave it for the second round of seasonal pruning. This year has been a little later because of the frosts so I would expect my next Larch pruning to take place in 5 – 6 weeks. You will be able to tell if it is the right time because you will have numerous shoots with observable buds.
Satsuki Azalea
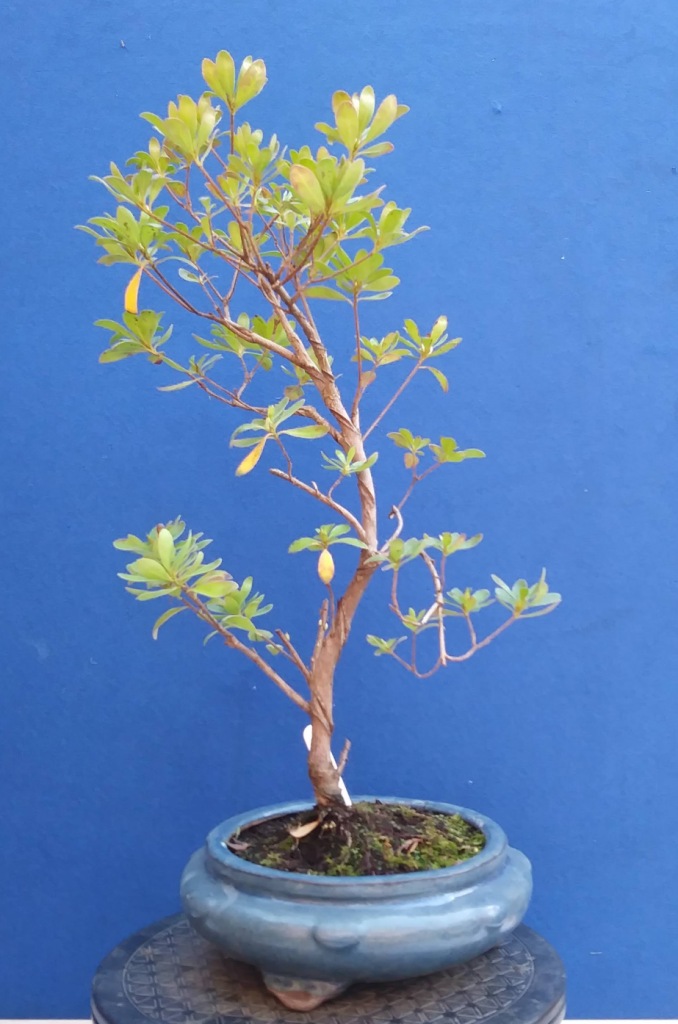
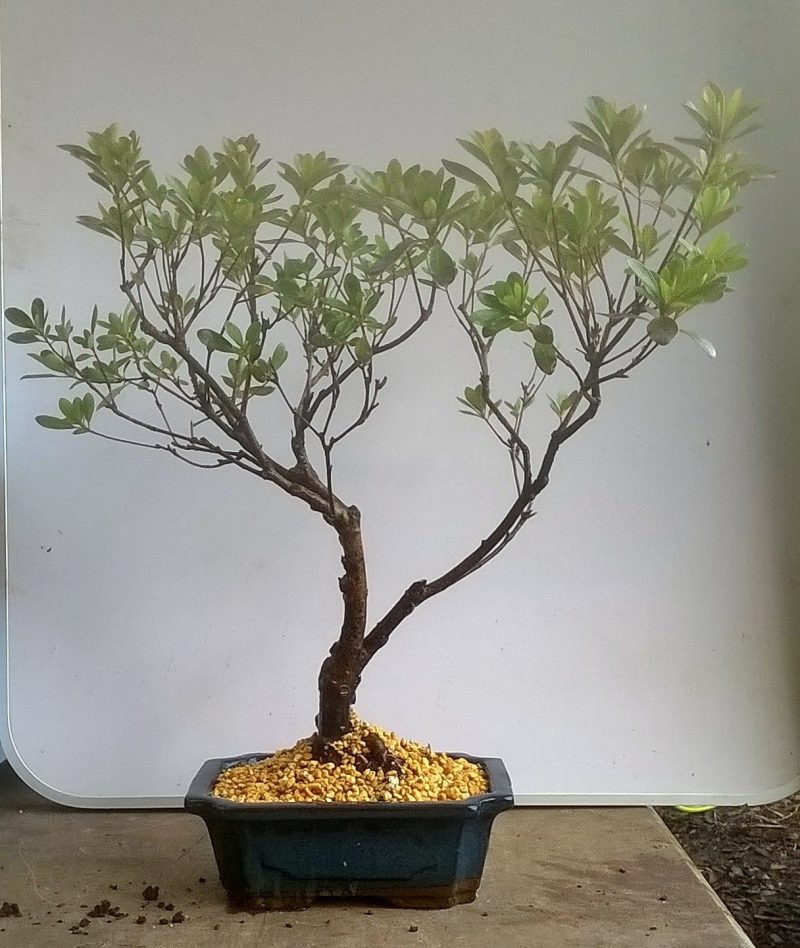
This tree is relatively new to my collection and was purchased in 2020. It is not yet ready for sale and still needs the packing soil to be changed next Spring. However, it does provide the perfect example for different pruning requirements.
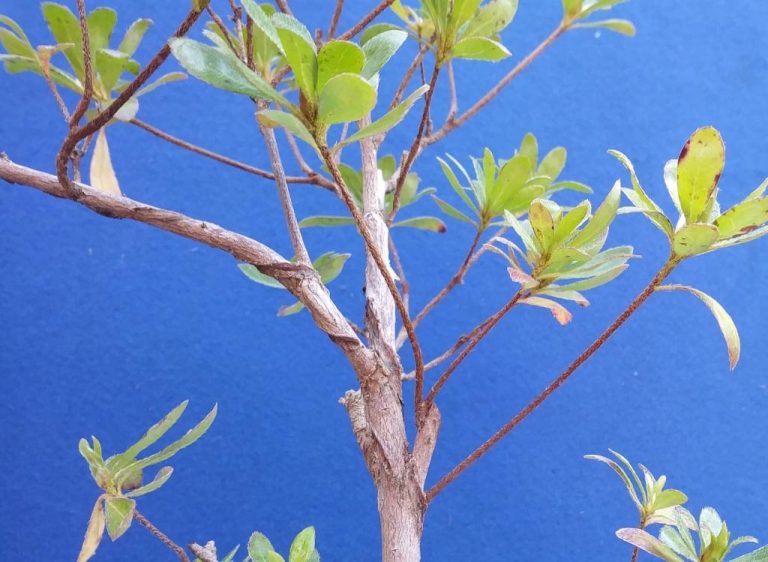
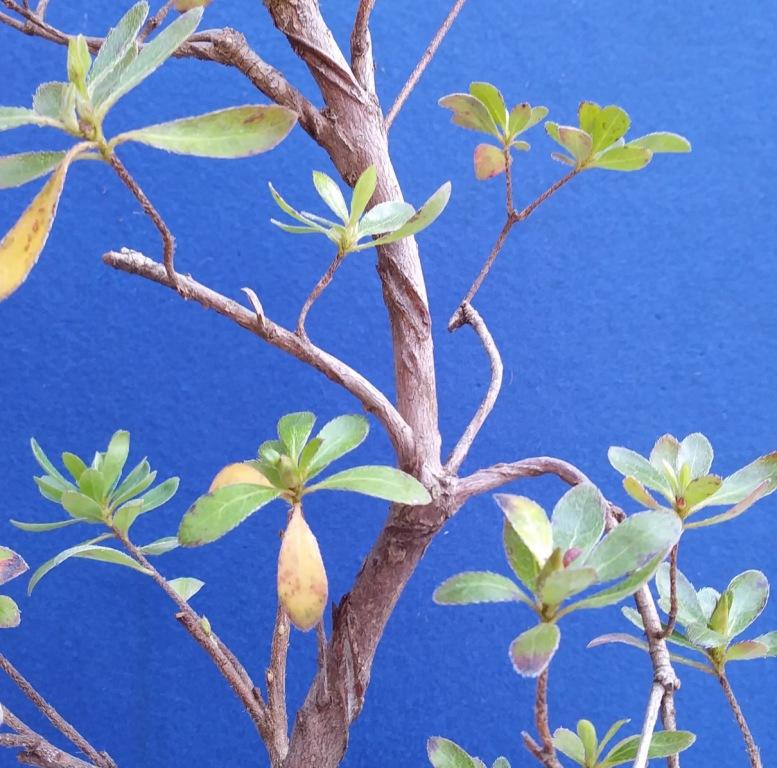
This bonsai has crossing branches, busy junctions, unwanted growth and examples of profuse back budding.
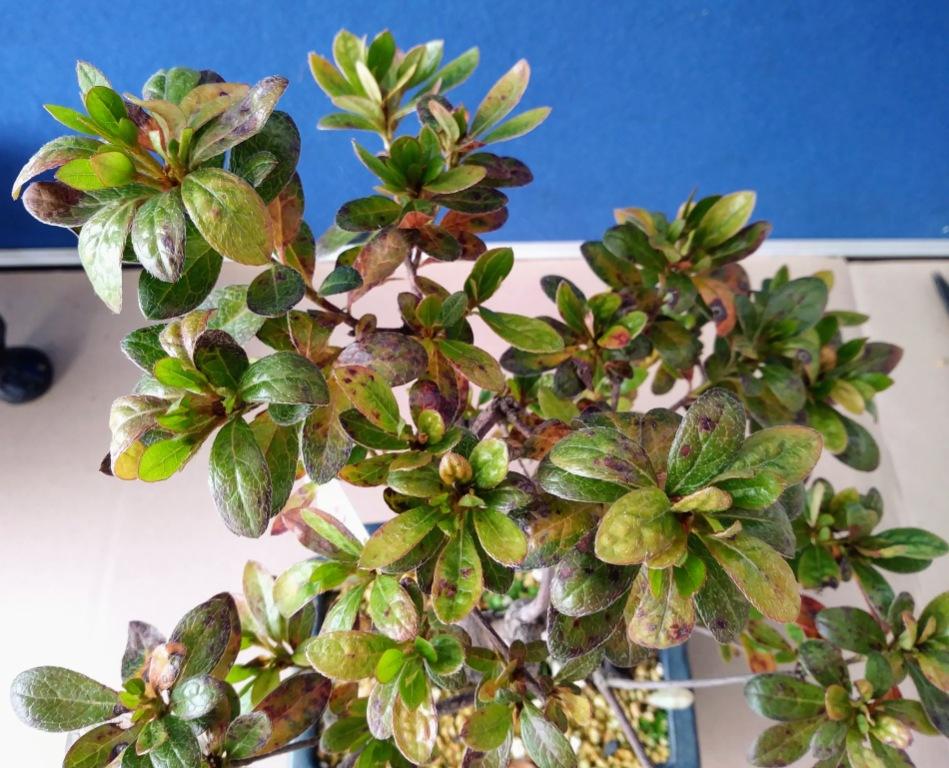
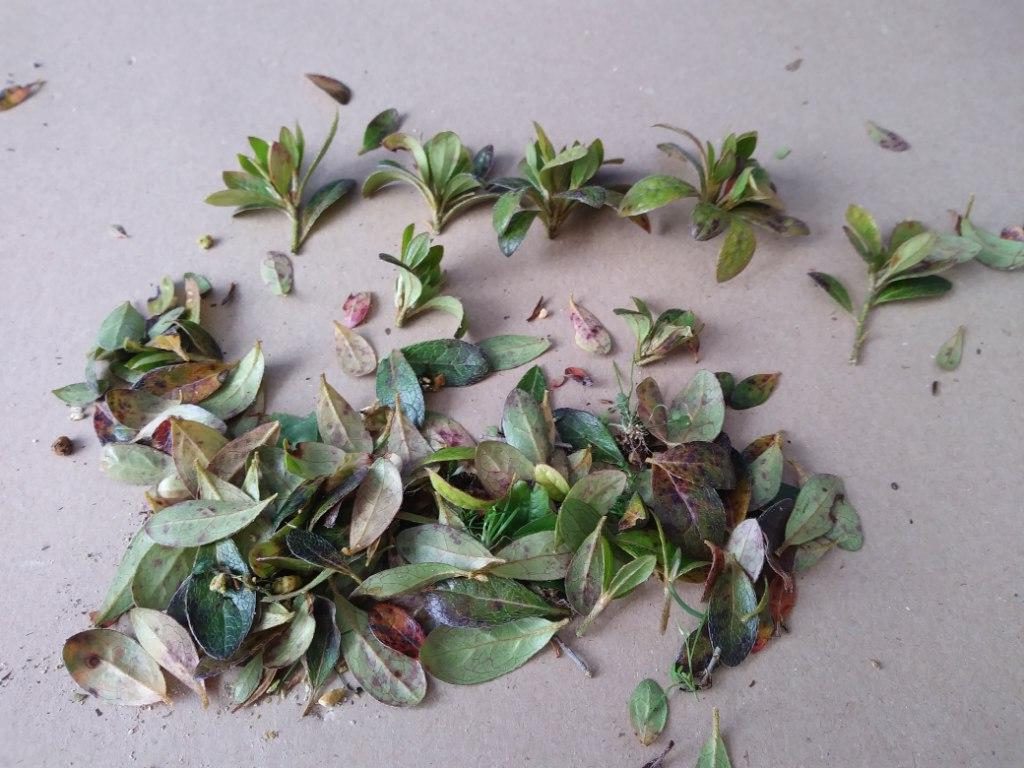
I think it worth showing a picture of the ranges of leaf discolourations you can get. It can be quite scary and cause you to think the worst of your bonsai. Although some of these may be due to pests or fungal problems other causes can be frosts, too much rain or even too much heat. I find it easiest to just remove the affected growth before running to pesticides!
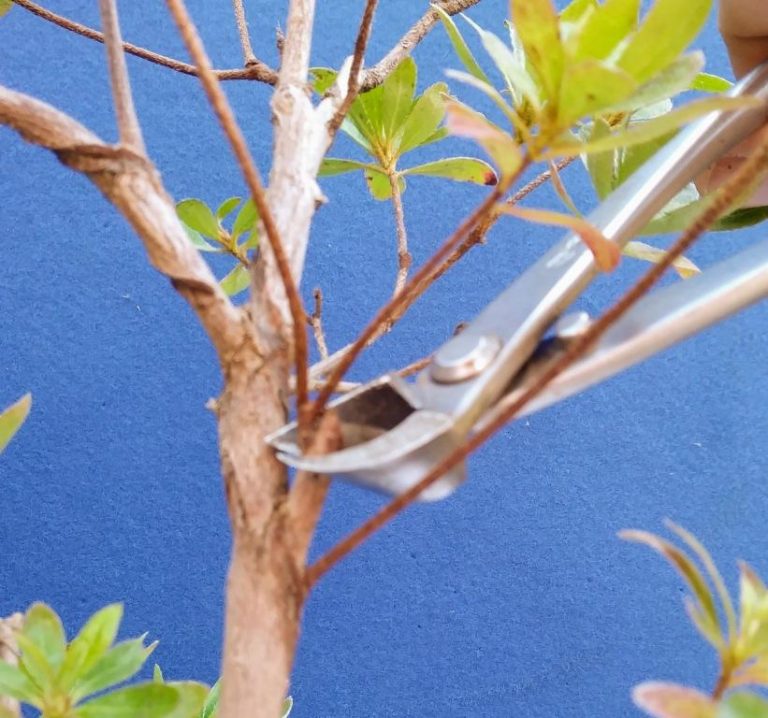
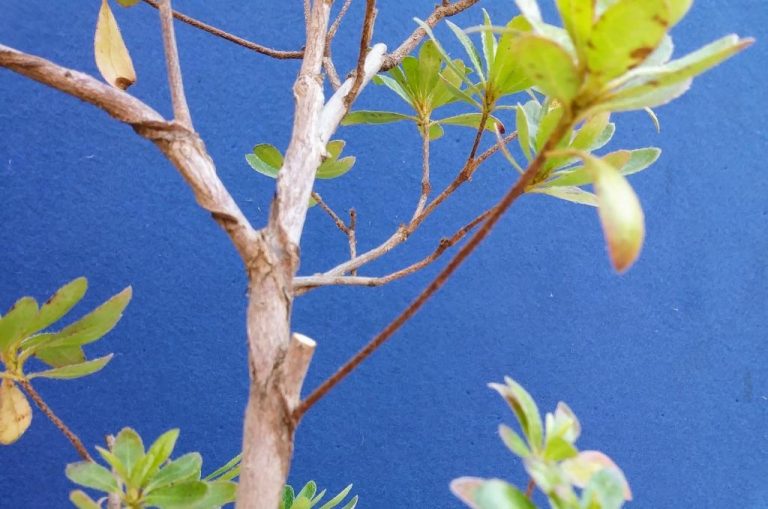
This is a classic example of too many shoots. Ideally I would like the two shoots coming from the branch stub but I noticed that one of them crosses the trunk. It is also unlikley I would be able to eradicate the difference in taper. So the best option is to remove everything above the lower shoot
The stub will be cleaned up in Spring.
Sometimes you may find that one of the branches is perfectly developed but just in the wrong position or badly crossing other branches or the trunk.
Wiring is sometimes a solution but often removal is the better long term option – especially if there is younger growth that can be allowed to develop near it.
In this case, to the right, you can see a perfect secondary branch growing from the primary structure.
This is the usual situation we find in which a third shoot has been allowed to develop into another branch. This causes additional thickening at the junction leading to unwanted inverse taper.
So we have to choose which two are being removed. This becomes more difficult the longer the branches are allowed to develop – so make early decisions if you can.
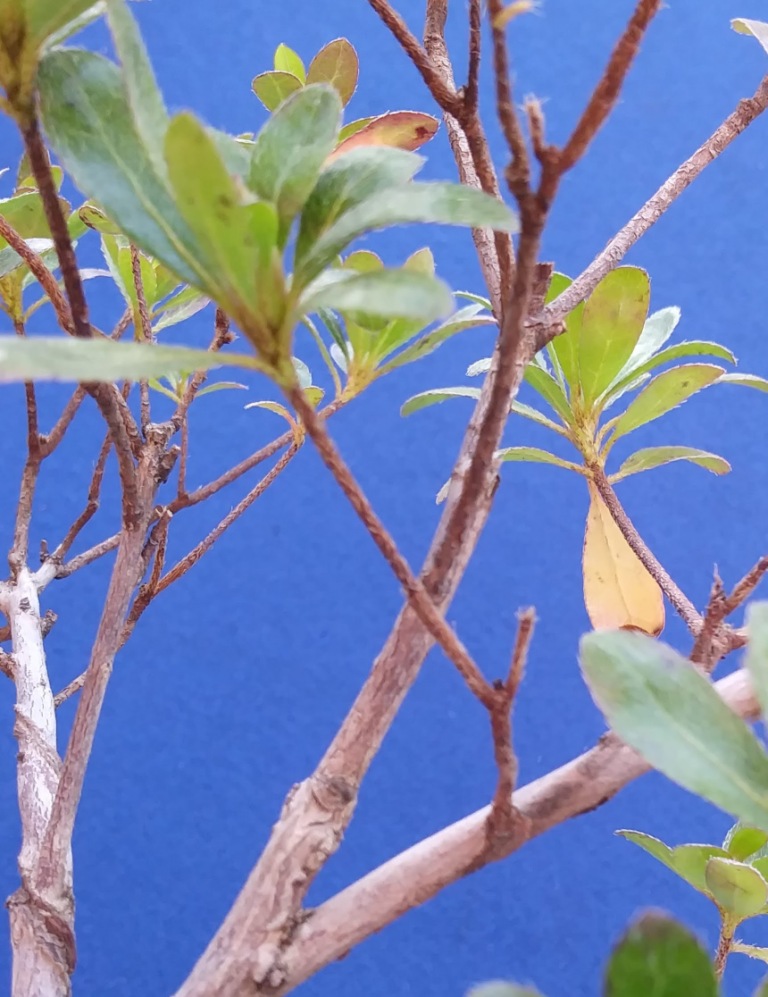
In many cases you may wish to shorten a branch. I normally just cut back to the next series of leaves at the length I desire. This action will often trigger some back budding lower on the branch. The top part of the image shows a number of growing tips that I chose to remove to shorten branches
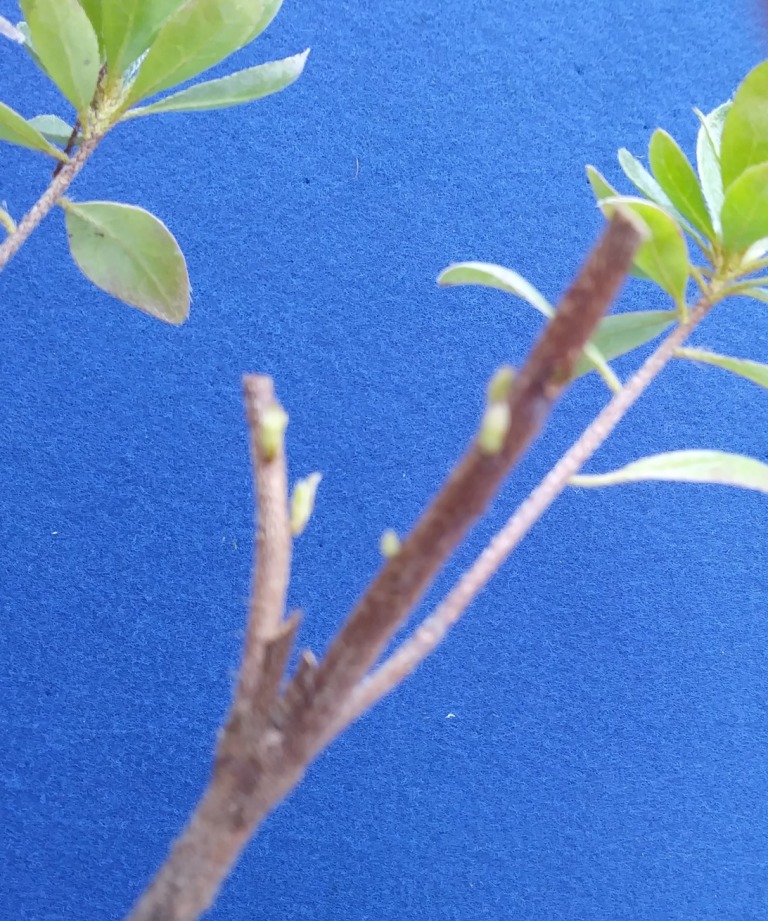
Azalea will often back bud even on bare wood – no leaves at all. I have carried out really hard prunes removing nearly all of the vegetation and triggered massive back budding.
It is this back budding that often provides you with the ideal next generation of branches. So keep an eye on these buds and only rub away those you do not need.
I do find Satsuki to be a temperamental subject to work with and it is not my preferred bonsai genus. It needs acidic soil and if you look back to earlier blogs you can read about a repot in kanuma soil. It is also basally dominant and prefers to be a bush. It is important that you prune lower branches hardest to allow energy to be distributed to the apex. Always remove any of the lower suckers and shoots – they just waste more of the trees energy.
However, this is definitely worth all of the frustration and work when you see it flower in May.
I have taken some ‘heel’ cuttings from this pruning session which are now potted up and enclosed in a clear plastic bag to maintain humidity. This will be the subject of my next blog article – never waste a cutting 🙂

