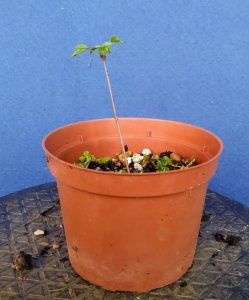
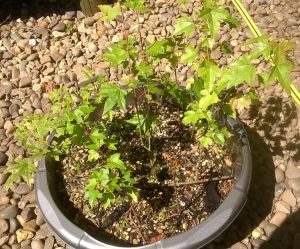
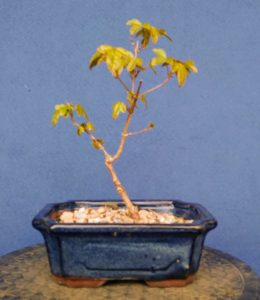
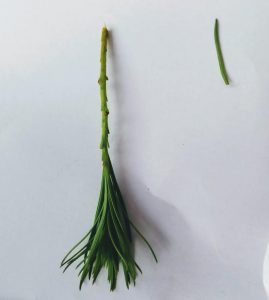
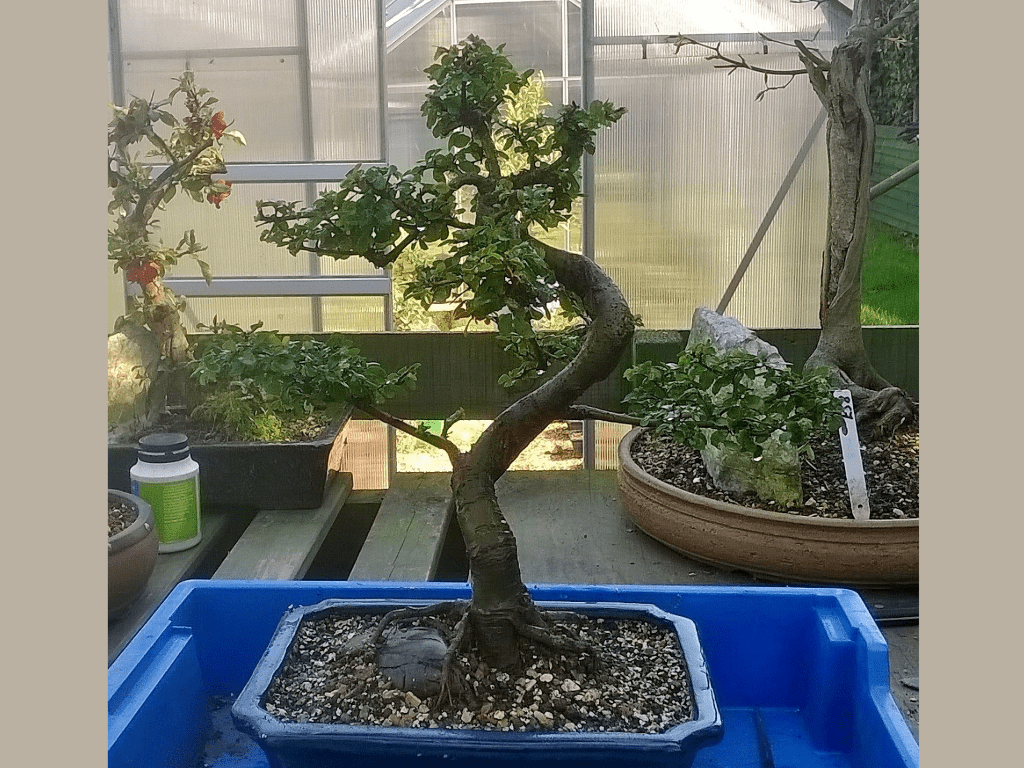
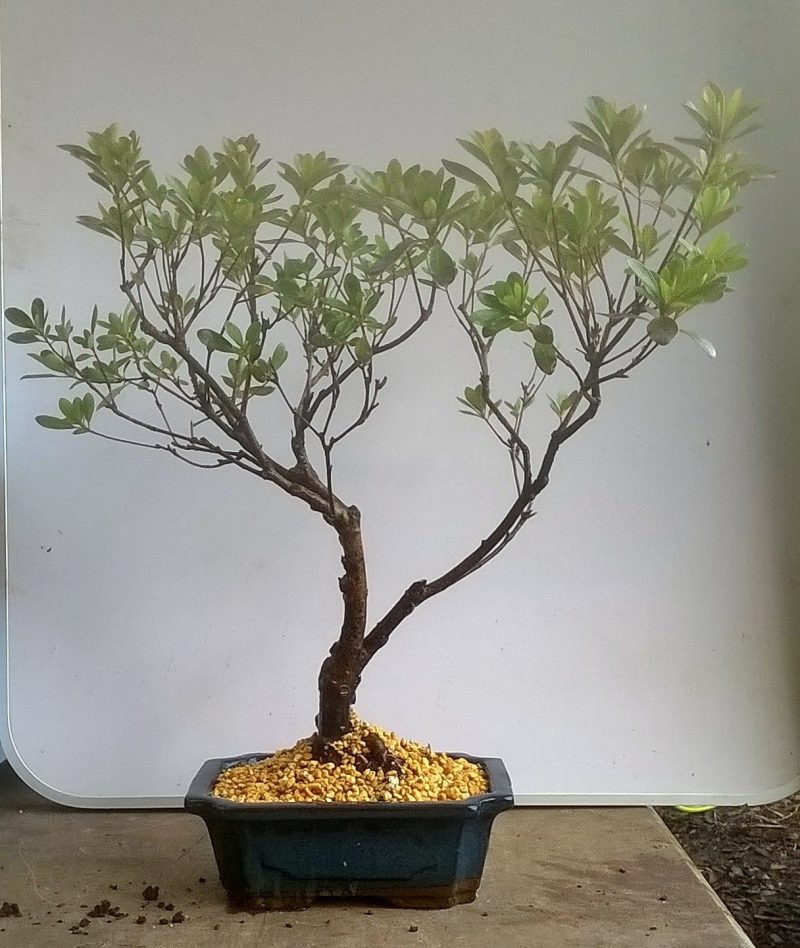
If you are anything like me then you will really struggle to throw anything away. Every year, since I started in bonsai, I have spent as much time taking cuttings as I have in developing the trees. This was not a deliberate choice on my part – just a natural desire to use all of that discarded material. When I first began, I had no idea that there were techniques used for successful propagation. I just took an offcut and planted it into some garden soil. Any size and any time of the year that I was pruning…
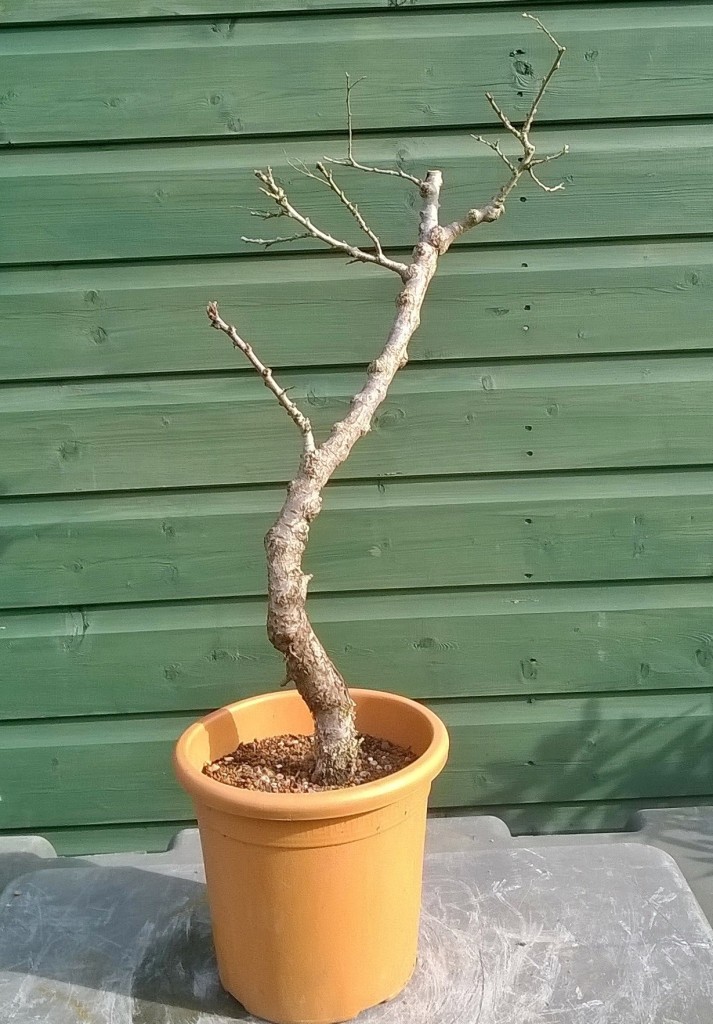
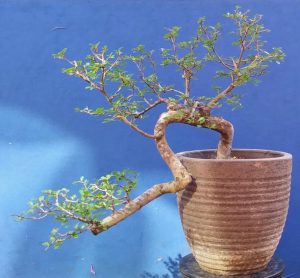
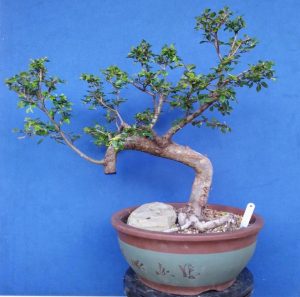
Surprisingly, I had a reasonable amount of success during the early years so it never occurred to me that I was just lucky. I still have an eight-year-old Corkbark Elm that started off as a broken branch discarded into a compost pile.
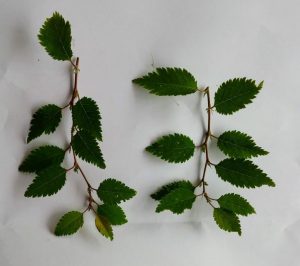
I later learnt that Chinese Elm are particularly easy to propagate from cuttings – which did explain the success.
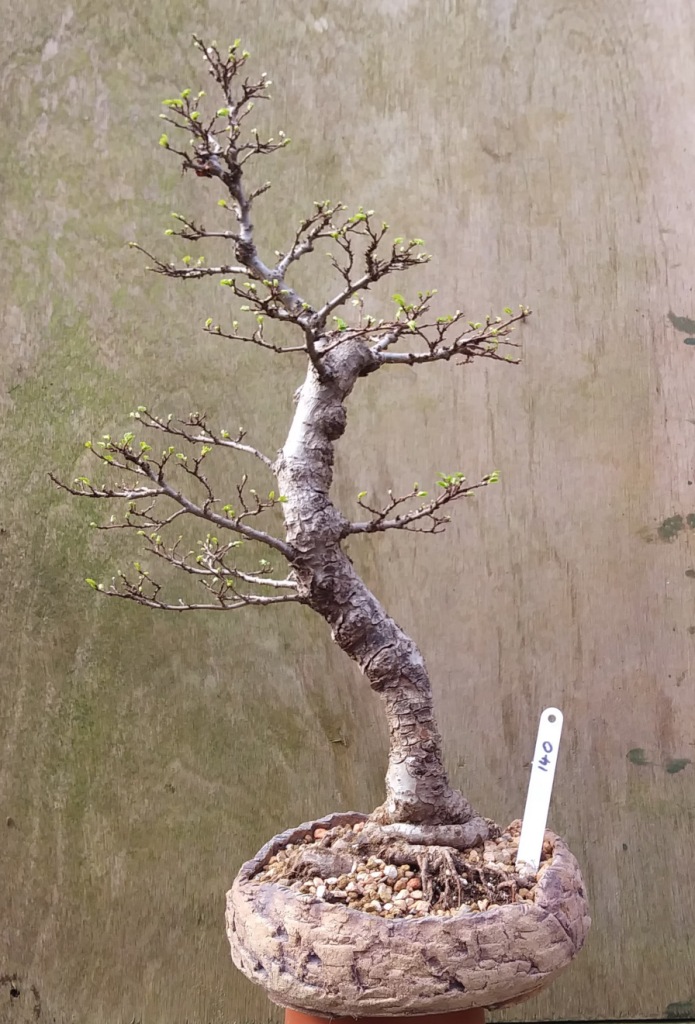
I take my cuttings twice a year. First, is sometime in late May / early June when the spring flush of growth has extended and hardened off. This also coincides with my pruning cycles and the increased temperatures / daylight hours. Ideally, we would want nightime temperatures to be above 15 °C to aid root development.
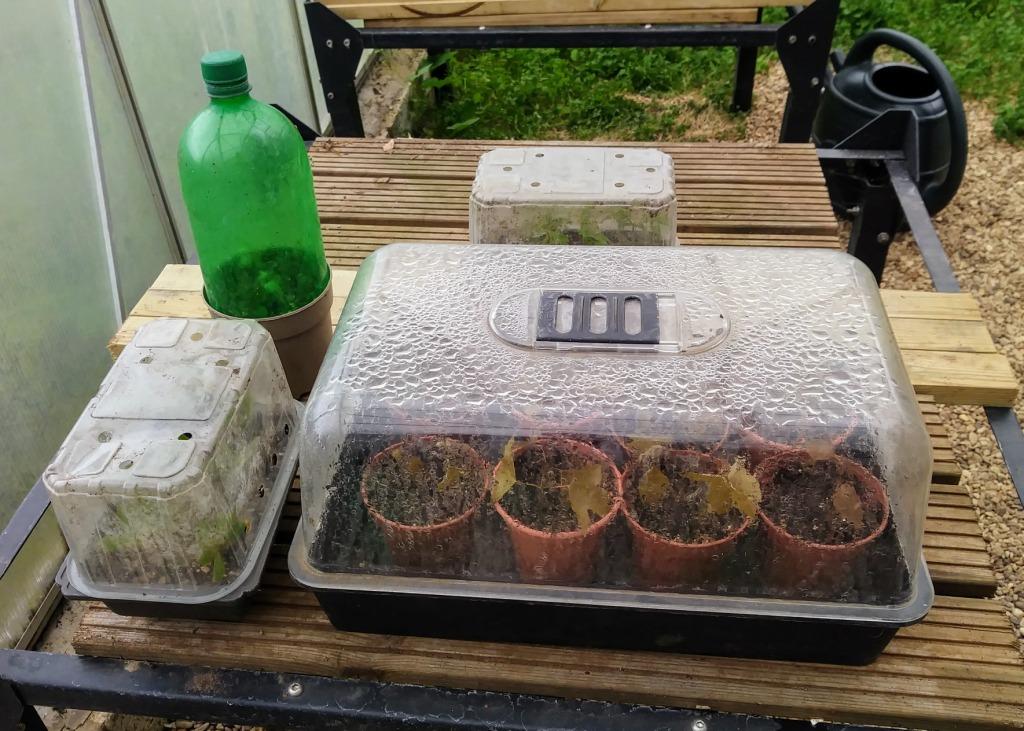
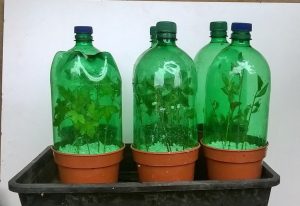
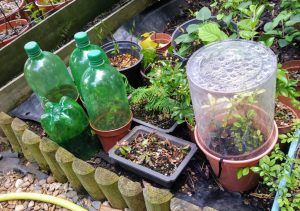
The second occasion occurs late July when I carry out my general pruning to maintain bonsai shape. I have most success placing the cuttings into damp perlite or vermiculite. They are then kept in a propagator or covered with an upended plastic bottle. I keep them misted but do not water. They are normally kept in a shaded part of the garden to reduce transpiration.
The best results come with: Fuji Cherry, Trident Maple, Chinese Elm and Boxwood. With indoor varieties I find that Ficus and Jade root very easily and all I need to be careful of is not to overwater them as they succumb to root rot quickly.
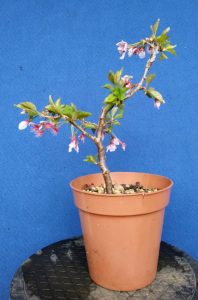
With Fuji Cherry I take a cutting from the point where the stem has changed colour and hardened enough to be self supporting. I remove the growing tip and around 3/4 of the leaves. I use a general purpose rooting hormone and then place the cutting into the soil medium.
I have used a range of potting mediums with success. The real issue is to ensure you establish a humidity bubble to stop the stem drying out. Don’t worry if the leaves fall off – shoots may still appear 4 -6 weeks later.
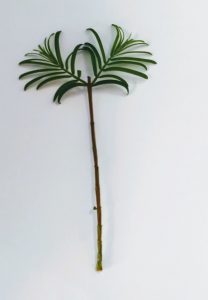
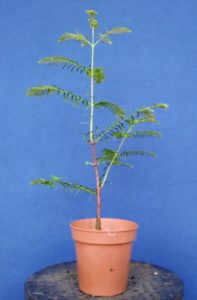
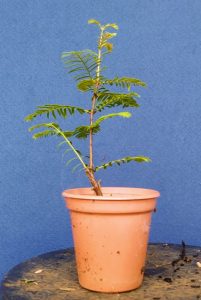
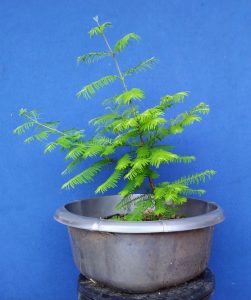
Dawn Redwood was a surprise success for me and though I only take 3 or 4 a year it is great seeing them develop. I tend to concentrate on last years unwanted growth as it gives me a thick stem. I use either perlite or sphagnum moss and then cover them to preserve humidity.
It is worth remembering that after a couple of years you should consider loosely wiring the main trunk to produce the movement you desire. Once the trunk thickens too much you have no hope of bending them!
Trident Maple are treated exactly the same and you can take up to a pencil thickness cutting. With the thicker cuttings I use sphagnum moss as the potting medium as I find this helps the hardened wood stay hydrated whilst the roots form. I normally leave two or three leaves on the shoots and remove the growing tip. I always cut at the base of an internode section.
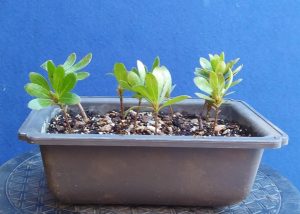
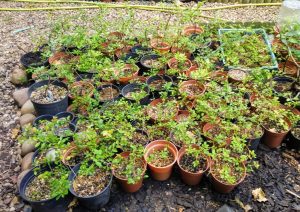
I will take up to two dozen cuttings for each washing up bowl I use – success is up to 80% for me normally. In Year 1 I will thin out any obvious weaklings and then split them in year 2 to individual pots.
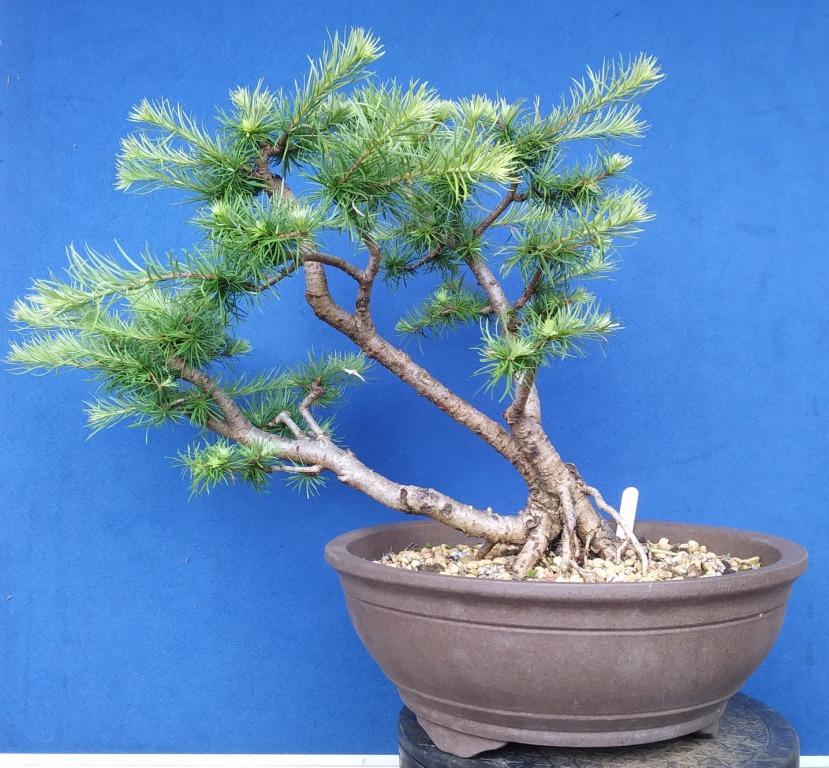
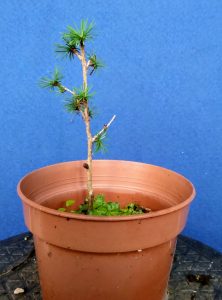
Japanese Larch are the hardest cuttings from my experience. I have tried a variety of times and methods and can boast the grand total of 3 successes in as many years! But at least that is three more than I had before – at no cost 🙂
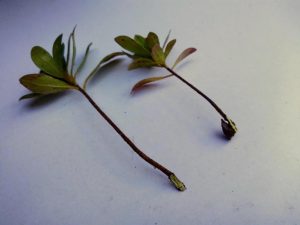
Satsuki Azalea are best taken as heel cuttings. This is when you gently peel the shoot away from the trunk or branch. My success with these is also mixed and I have found the cuttings that have taken are extremely slow to develop. But again, they are free…
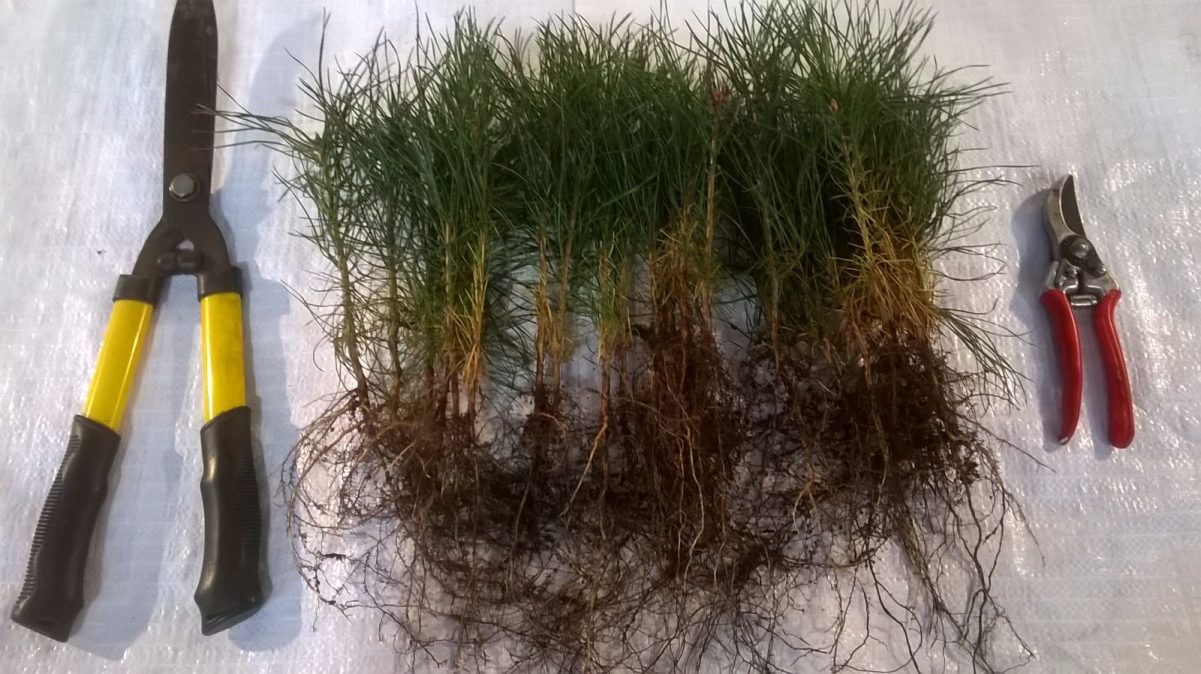
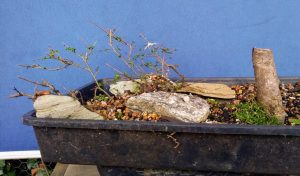
Like the Trident Maple, you can take very thick cuttings off of a Chinese Elm. They often propagate successfully without need of humidity covers and this time of the year I am planting all of my prunings into washing up bowls.
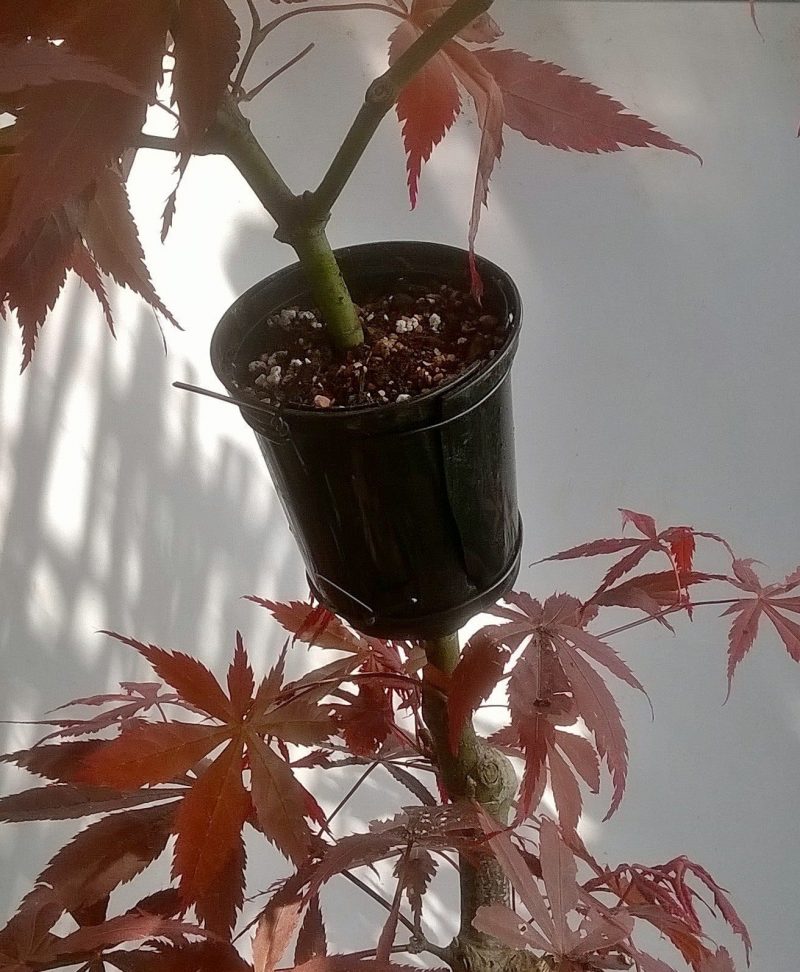
This spring I removed a large straight branch from one of my bigger Elms. I removed all of the bark on the lower side and wired it into some soil to attempt a variation of the ground layer technique. I definitely have new growth so time will tell…
I have found that so long as you apply the general principles to your propagation success will follow. It may be discouraging in the first year because they are still not bonsai but watching them send out new shoots is definitely rewarding. It doesn’t matter how many failures you have because the ones that do take will be your future bonsai masterpieces.
I definitely recommend you scouring You Tube for content on ‘how to take’ cuttings – there are loads of videos available. The only cautionary thing to remember is that we each live in different areas and it can be surprising just how varied results can be within our own ‘micro’ climates.
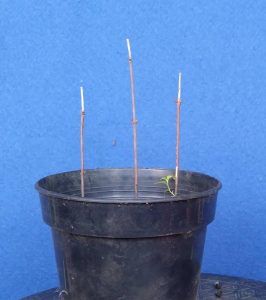
If you are ever confused at whether your cutting is viable it is worth taking a closer look at the rare but popular ‘dead tip’ variety. This is a sure give away that your propagation failed! Oh…and don’t be confused by the little green weed – that will never make a bonsai.
It is now the time to carry out 2nd pruning on your Japanese Larch but more on that in the next post.
Happy bonsaiing 🙂
