Chinese Elm Repot – 2018
Through a series of photographs and short notes I will take you through the repot and root prune process used for one of my Chinese Elms in Spring 2018. This process is the same I would apply for any bonsai that has outgrown its container.
Step 1 – Observation of the bonsai
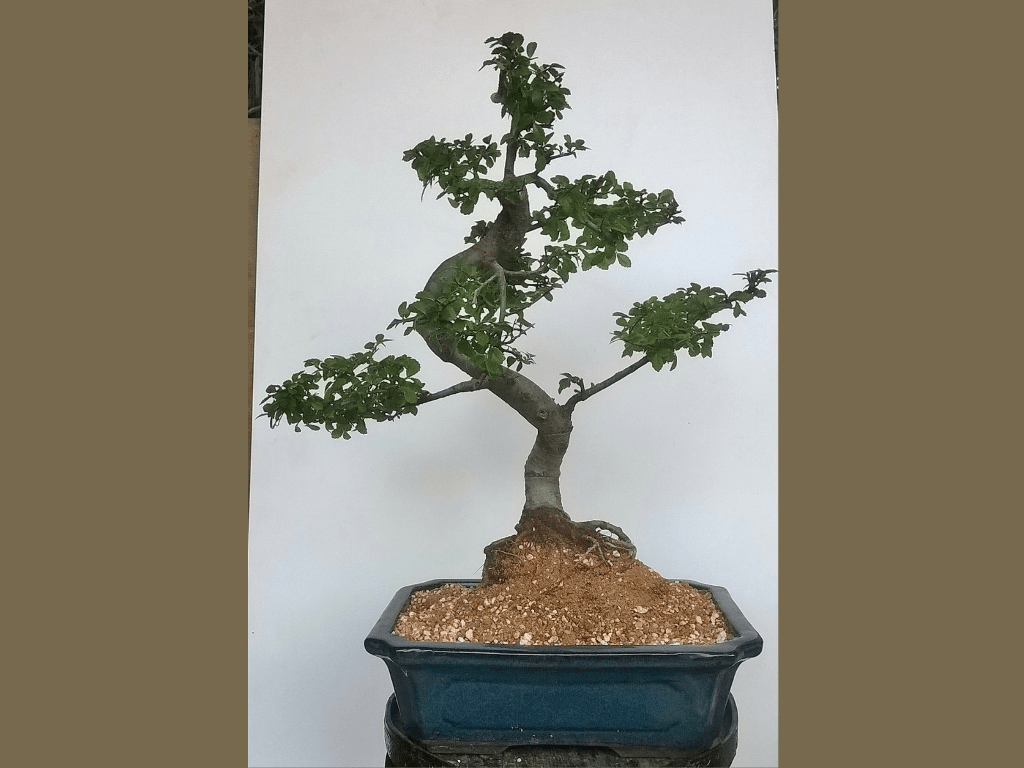
The tree is sitting very high in the pot suggesting the roots are now pushing it ‘up’ from its original placement. With Chinese Elm it is not uncommon to have to repot annually due to their rapid root growth.
I also noticed that water ran off the surface without much absorption and the lower soil was remaining dry and crumbly. This is an indication of poor percolation / soil breakdown. This reduces the ability for oxygen and water to interact with the roots.
Step 2 – Exposing the rootball
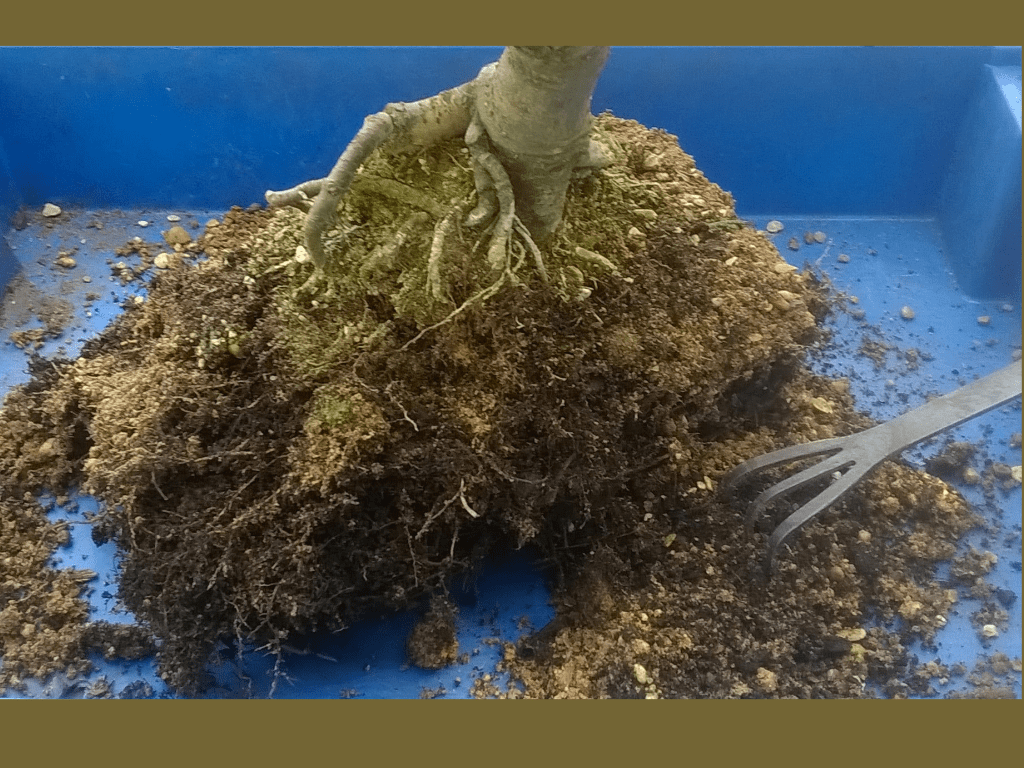
Take your time to remove the tree from the pot (don’t foget to remove the ties first!). Slowly tease away the soil mass to identify the primary rootball.
Make sure you have a spray bottle on hand to keep misting the fine roots.
Take care not to cause unecassary damage to existing roots. A chopstick is the ideal sorting tool.
Step 3 – Start sorting out the root structure
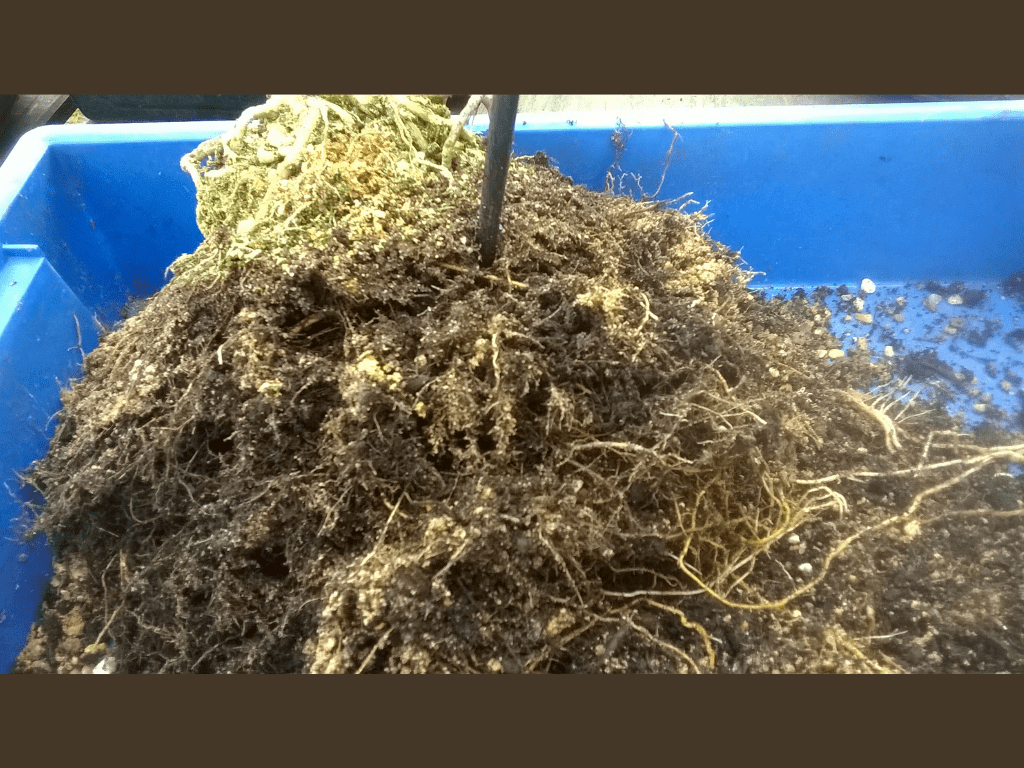
Using a chopstick I begin to remove the soil and other matter that binds the roots together. Carefully beginning the process of untangling the fibres – some will tear (do not worry)
I examine the roots for signs of disease. (They often smell or squash easily)
Watch out for any bugs or larvae that may be wriggling about – try to identify and eradicate. GET ADVICE!
Step 4 – Time to do some root pruning
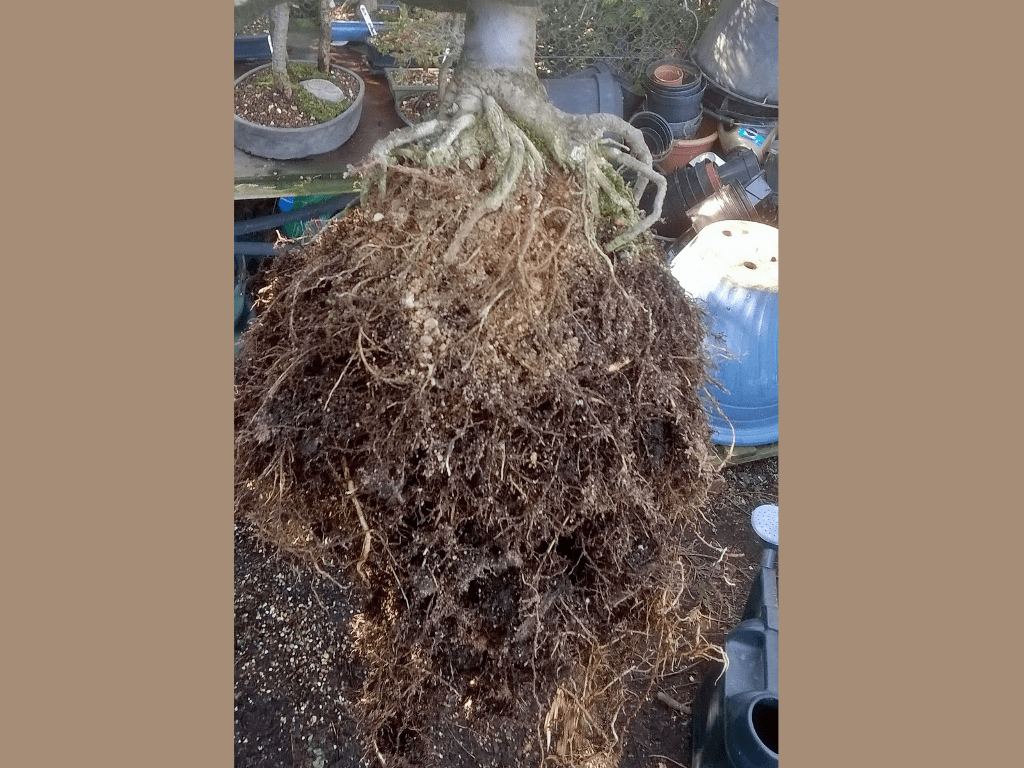
Once fully untangled it was possible to establish what I really needed in this mass of growth. I identified the core networks of roots I wanted for my tree – removing the rest!
In this case I have removed at least 1/2 of the lower root growth. New roots will emerge from the cut sites. In this way it is possible to develop a ramified system.
I have removed crossing roots and unwanted large surface roots. I keep misting the roots to keep them wet whilst I work.
Step 5 – Prepare the pot
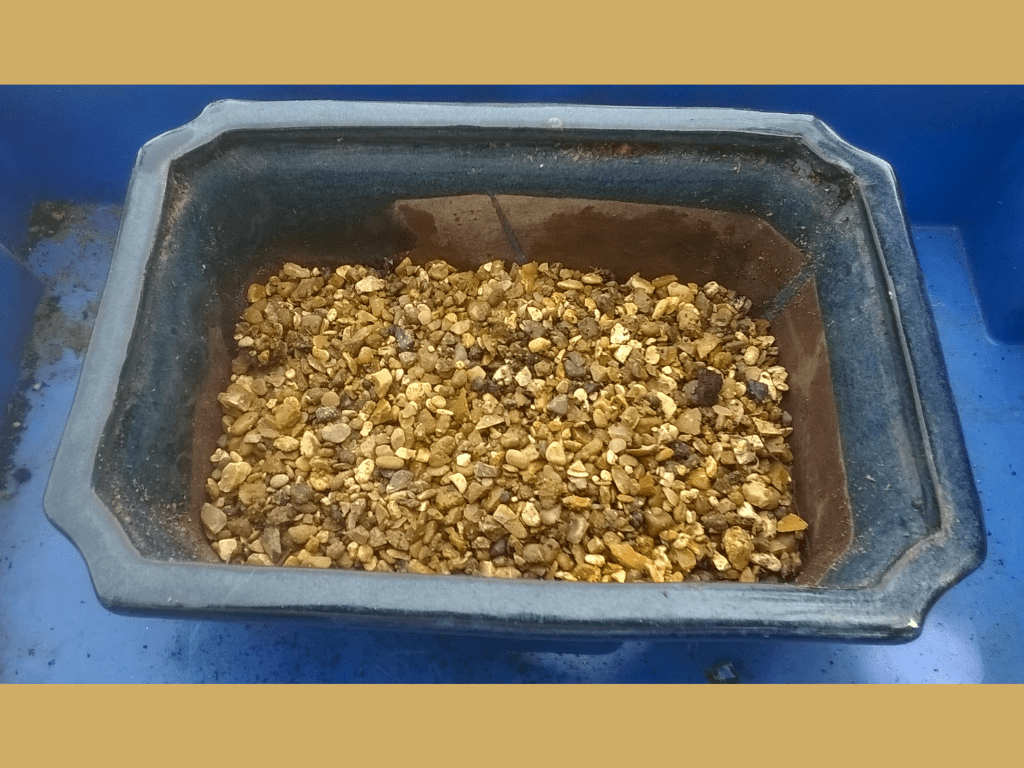
I have cleaned the old pot and checked for any winter damage. In this case it had a hairline crack so I changed it. Nothing worse than having a pot crack open in winter – risking root damage / death.
I have put a plastic mesh across the drainage holes to reduce the chance of insects getting in and grit getting out.
I then layed down a thin layer of cleaned grit as a base for the bonsai soil. This can reduce water collecting causing root rot…
Step 6 – Prepare tie wires and soil bed
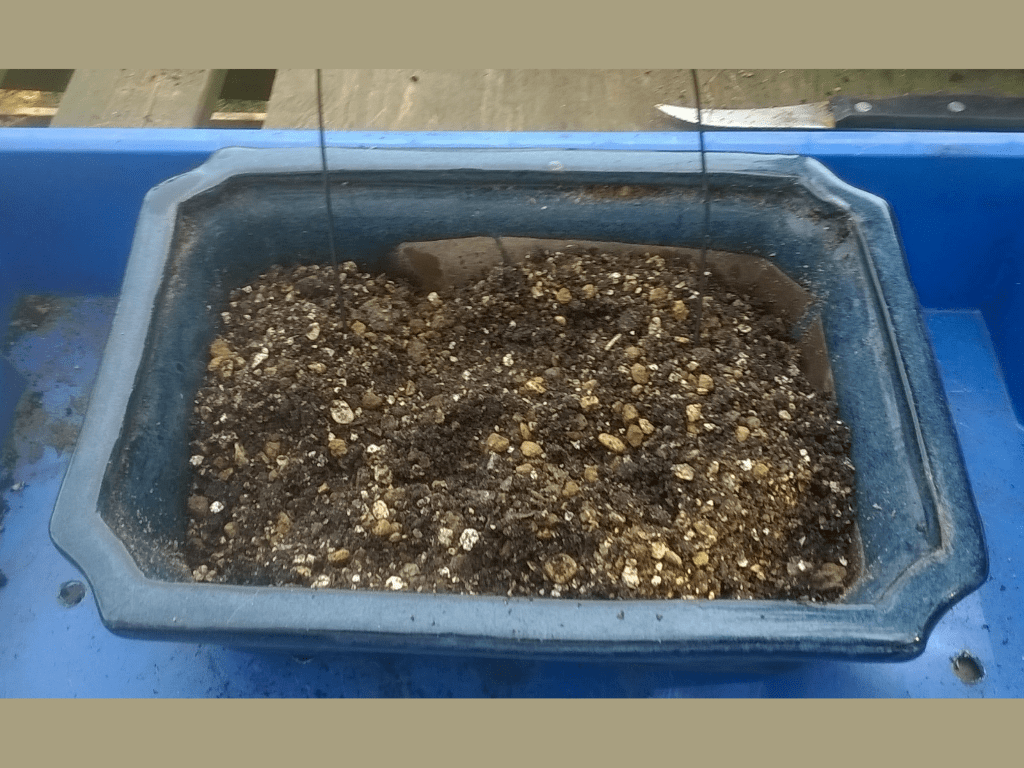
I cut two lengths of wire for anchoring ties and thread them through the drainage holes. As the elm has lots of gnarly old roots beneath the surface I will use these to hold the tree in place.
I added the bonsai soil to the level I wanted the tree to sit at and ‘mounded up’ at the position the trunk will be placed. This is the time to re-check the root and tree fits the pot. I was aiming for a good radial surface spread and wanted to allow space at the edges for more root growth.
Step 7 – Position the tree
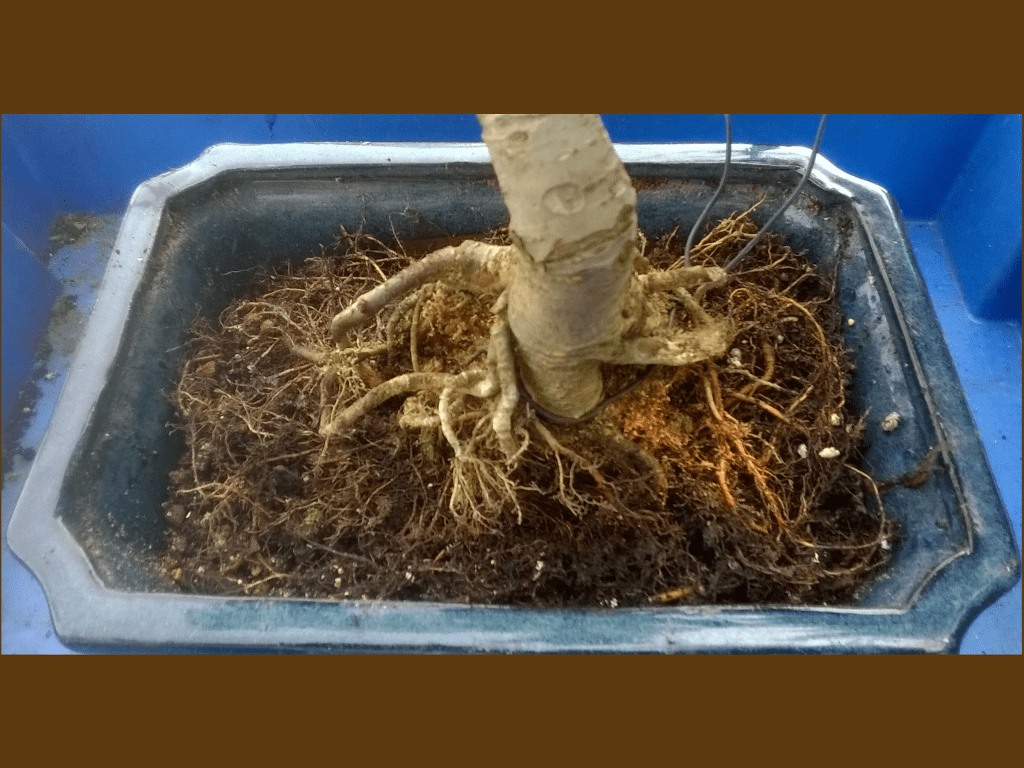
By now you should be happy where the tree will sit. This is not a process you want to repeat unless you have to – it stresses the tree and can slow/stop growth for the year.
Secure the tree into position with the wire ensuring you avoid future damage to surface roots – wire digging in as they expand. I slide the wires beneath the lower ‘hidden’ roots or use a wooden peg system.
Step 8 – Fill the pot with soil
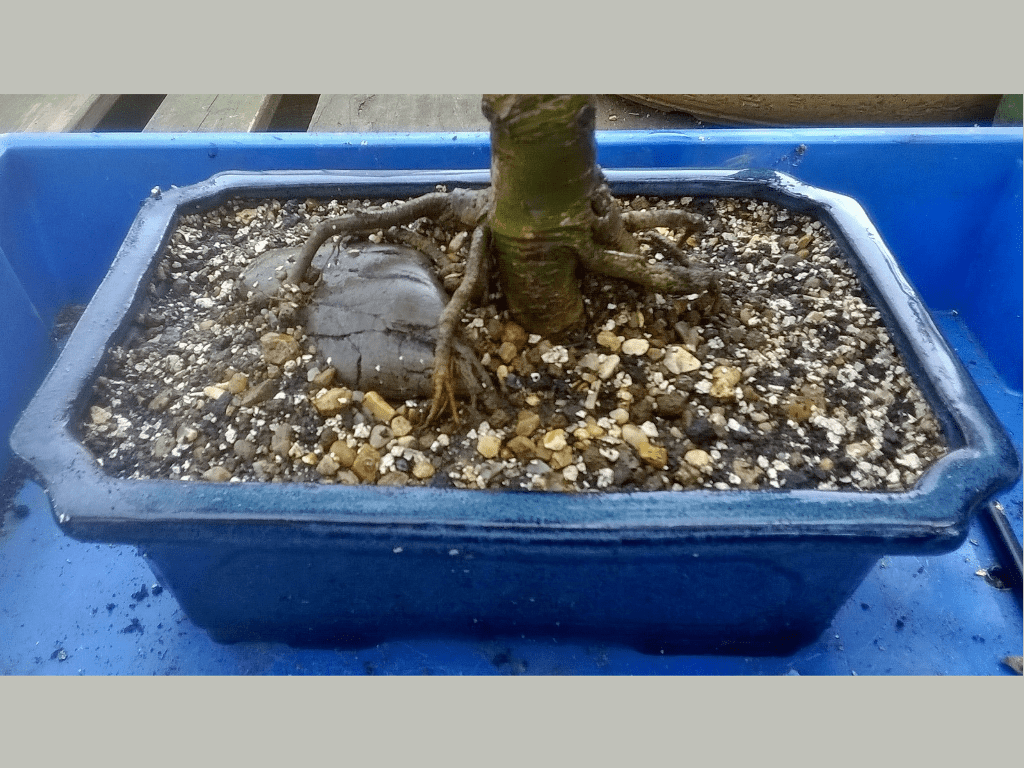
I gradually added soil to the pot whilst working it into the root network with a chopstick. Slowly trying to fill any air pockets in hard to get places.
This is the last opportunity to identify and remove any unwanted upward growing roots. So keep your clippers handy…
In this project I have added a rock and wrapped some of the roots around it to provide interest. Over the years I hope that it will become gripped by the expanding roots.
Step 9 – Water and Detail
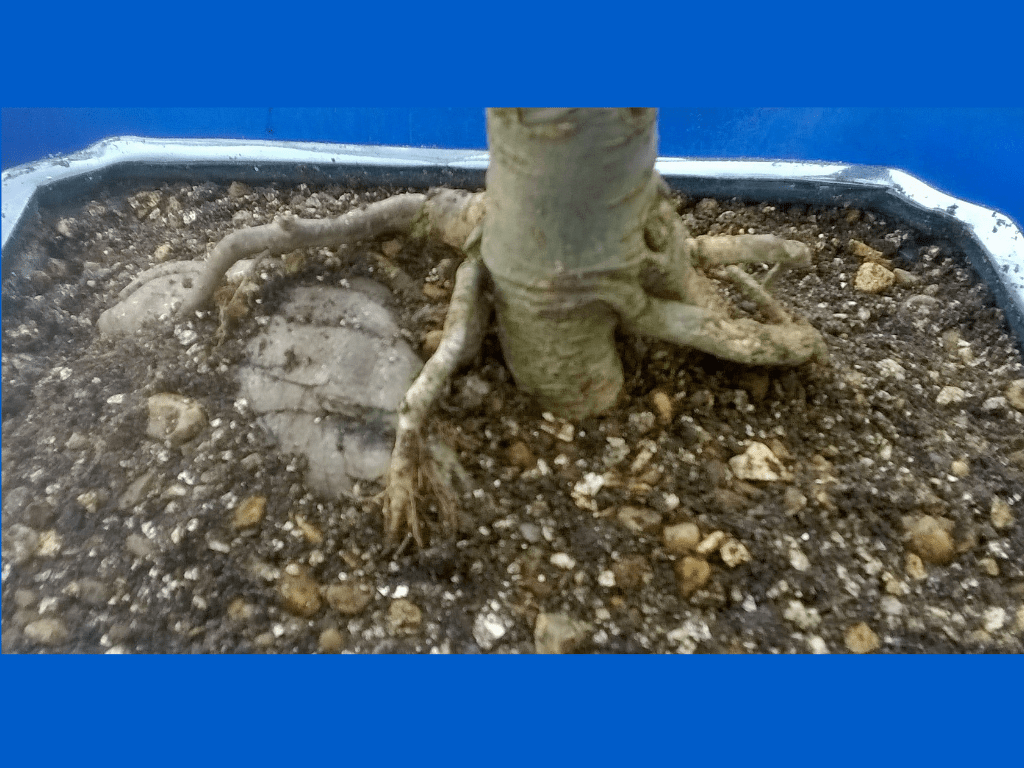
Water the tree carefully until it runs out of the bottom of the pot clear. Free draining soil avoids the risk of water collecting and risking root rot during this critical early stage.
Check for any final alterations – you can still move the tree if needed. Make certain it feels secure. You don’t want new root growth breaking due to insecure tie downs.
Brush away unwanted soil from the exposed roots and apply a moss top dressing. (See later blog post)
Step 10 – Admire your work
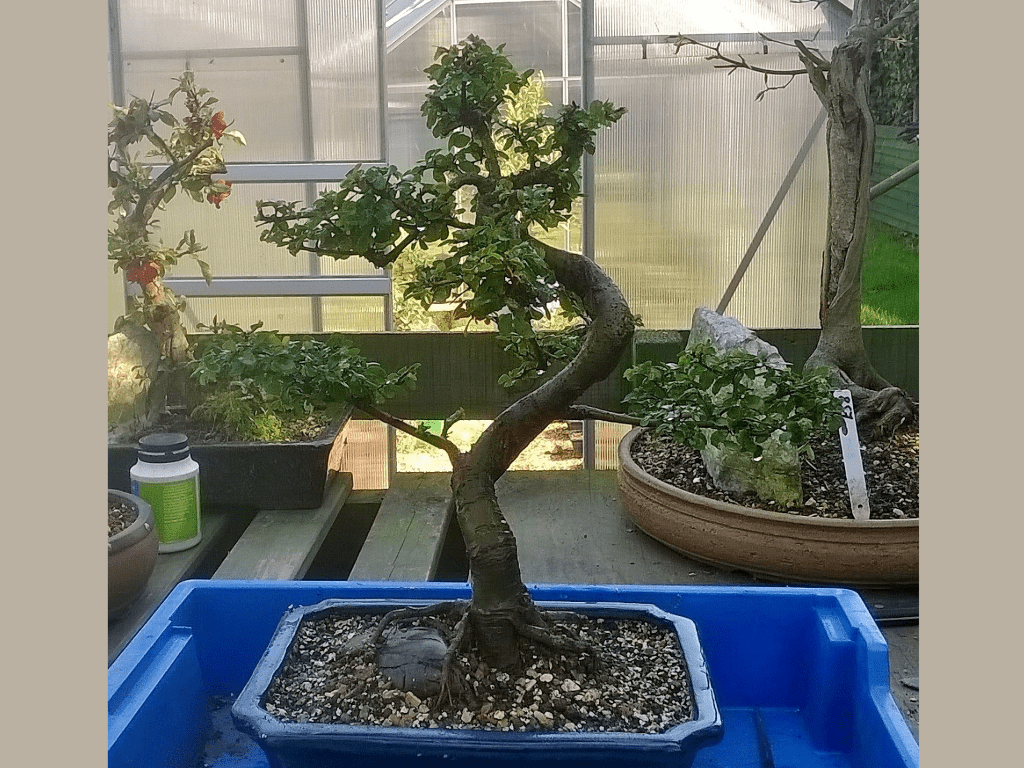
Take the time to admire what you have achieved – well done!
I make notes in my bonsai diary with a bring up date for the next ‘planned’ repot. This tree will be fine for at least 3 years but I have a review date set for 2020 (2yrs)
I will not start applying fertiliser for at least 4 weeks or until any new growth starts hardening off. As an indoor tree you can repot throughout the growing season without much risk. I avoid winter as my indoor elms go dormant.

